I am so excited to share with you this DIY yarn rainbow I literally whipped up during naptime last week! I say “whipped up” because I am surprised as you that I spent a naptime doing something fun and creative…that wasn’t a chore. Most days nap time is re-grouping time. Cleaning time. Making phone calls/appointments time, prepping, planning, etc. You get the idea!
This rainbow wreath is so easy and fun…and it took me the length of two episodes of Sweet Magnolias on Netflix to do it, just to give you an estimate of how long this project takes!

For this project, you will need the following. I have linked MOST of the supplies for you! As an Amazon Associate I earn from qualifying purchases.
- Scissors
- Pliers
- Wire, 20 gauge
- Cotton rope, 5mm wide
- Hot glue gun and glue sticks (this is my favorite glue gun!)
- Yard stick or ruler
- Masking tape
- Yarn
Start by cutting two pieces of rope and one piece of wire in the following lengths:
16″, 18″, 20″, 22″, 24″, 26″, 28″, 30″
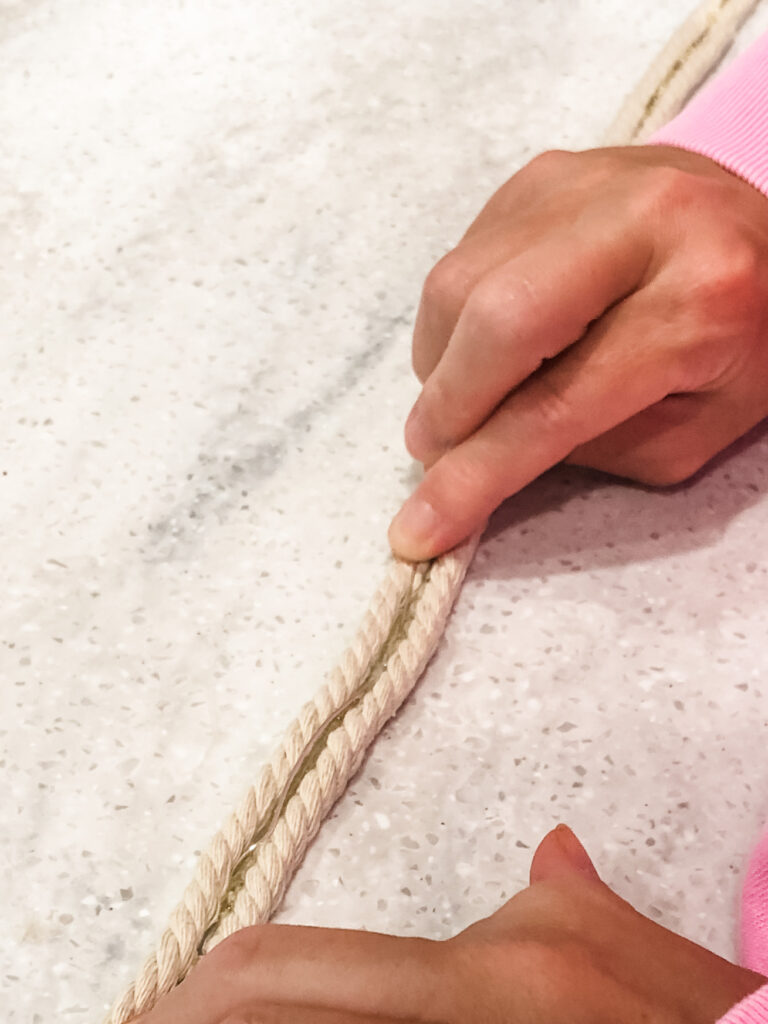
Next, take the two pieces per length and use your masking tape to tape the ends on each end.

Next, take the wire you cut in each length, and glue it on the corresponding set up ropes, right in the middle.

I bought all of my yarn from Hobby Lobby, and bought big bundles of it! You do not need a lot of yarn for this. The colors I wanted, however, were not available in the smaller packs of yarn…#gofigure. Now, I have #yarnfordays.

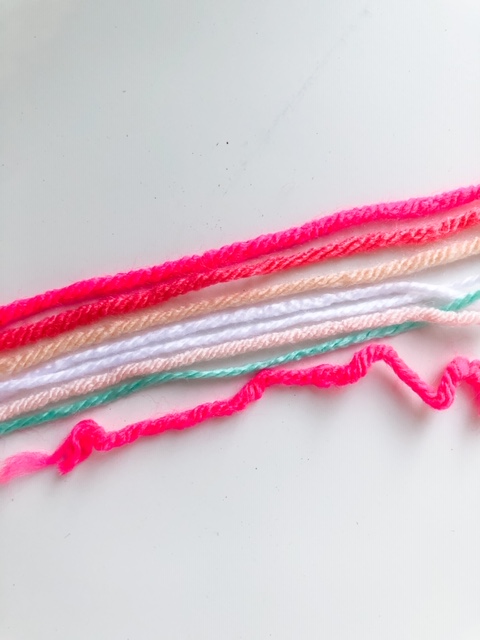
Next, cut a few pieces from your yarn, so you can play with how you want your rainbow to look. You may need to move one color up or down the rainbow to get the “look” you’re wanting. I decided to do a double white right in the middle to break up the colors and keep it feeling “bright”! I think a gold or marigold color would have been pretty to add in this color palette too…

When you’re pretty set on the order of colors you want, it is time to start winding that yarn around each rope-wire-set you’ve already glued. This is when you should find something on TV to watch…you’ll feel slightly like an old lady knitting watching her “stories” while you wind each rope set with each color. Unless you’re a young person who knits, then you’ll just be being you. 😉
To do this, start at the top of your masking tape on one end, and tie a simple knot. Then start winding, you can wrap the tail of yarn from your knot up in there or not. You can always cut it at the end. It won’t unravel, because we’ll end up gluing everything. You will end the winding with a simple tie as well when you get to the other end.

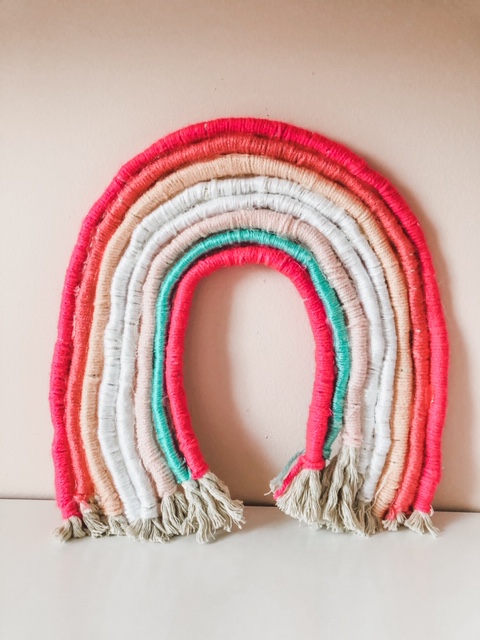
When each part of your rainbow is covered with yarn, it is time to glue each color strand of the rainbow to the next. Start with the largest (first) arch and your second arch, and put glue right in the middle (between them), just like you did earlier with the wire in the rope step. Press the second arch into the glue, and move on to adding glue to the second arch and pressing the third one into it…keep doing this until all eight arches are glued and connected.
Next, peel off all the masking tape!
Unravel the rope so it looks like wavey hair.
Trim all the ends straight across the rainbow, so they’re somewhat level/even. Mine is not very even, but that’s ok!
The beauty of this rainbow is that it’s not going to be perfect. It will be flawed…and my #ennegreamtype1 self kinda likes that it’s not perfect! #gasp


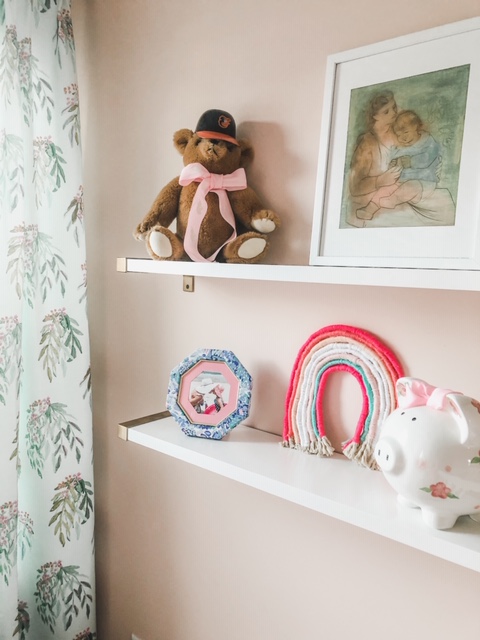
You could easily hang your rainbow using a command hook or a simple nail in the wall. I decided to place mine on my daughter’s book shelves in her room!
Let me know what questions you have, and if you decide to make this rainbow, please tag me so I can see it! @kathryn.sloop or #suburbanwhimsy


