September is a big month in my family with lots of birthdays to celebrate! I thought it was the perfect time to share my favorite party game: a punch piñata!
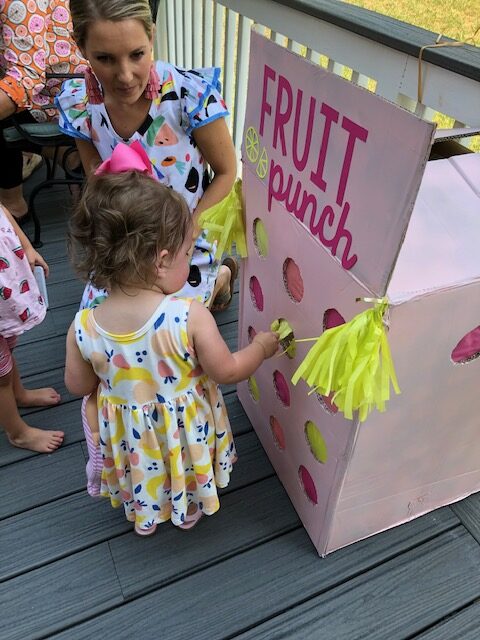
I made this for my daughter’s birthday party last year. This was a TWO-TI-FRUITTI party as you’ll notice from the pictures! The punch piñata was the perfect party game for a mix of ages…we had children from newborn (literally a month old!) to age 5 at her party, so it was tricky to find something that worked for all (minus the teeny ones). Most of the group was around two years old, and I didn’t want something highly structured (that’ll come in future parties) but I knew I need SOMETHING set for them to do.
We hosted the party at our house, and I had options in our backyard for free play for the kids while we ate and socialized. This included having the slide out, balls, a basketball hoop, and bubbles. Before we did the birthday cake, we gathered everyone together for this game. It was the perfect transition into signing happy birthday as everyone was already gathered together!
To make a punch piñata, here is what you’ll need to get started. I have linked some materials for you here and then more throughout the post! As an Amazon Associate I earn from qualifying purchases.
- a good-sized cardboard box that will stand alone
- a box cutter
- a few pieces of card stock
- tissue paper
- hot glue gun (this one is my favorite!)
- solo cups (I prefer clear for this project!)
- small prizes that will fit in the solo cups
- spray paint
- tape
- Cricut or Silhouette machine (optional)
- things to decorate with!
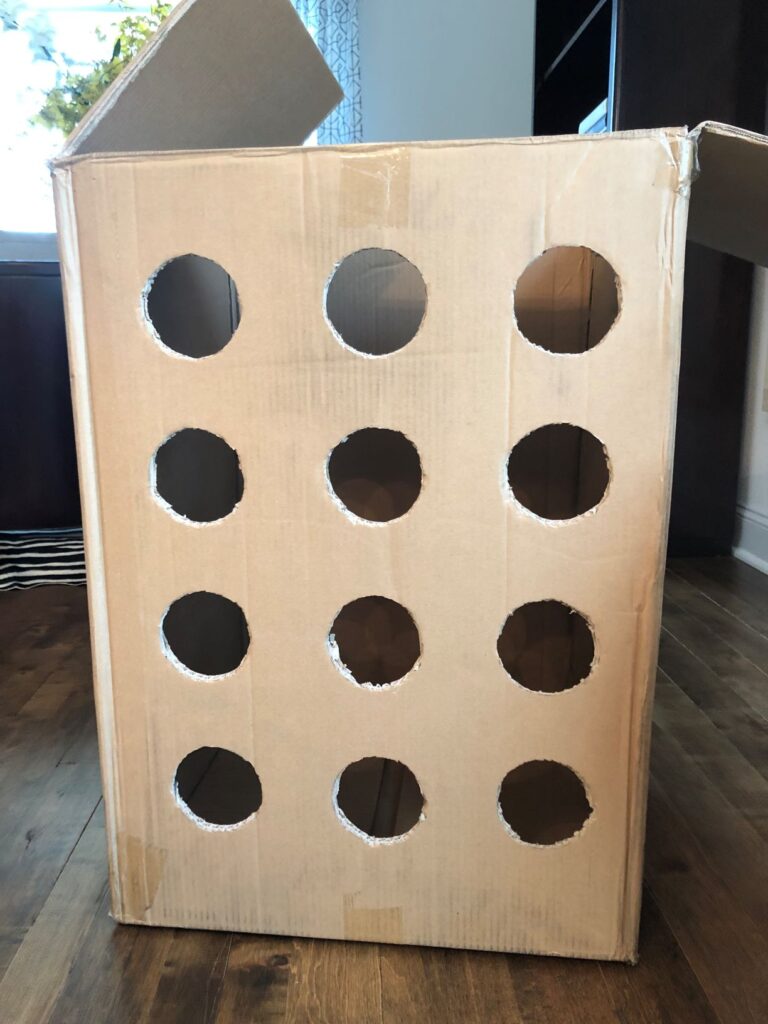
First, decide how many holes you want/how many “punches” you’ll need. I wanted the kids at the party to each get two turns, so I made that many (12 in this case). We ended up have one additional child RSVP, so I actually added two more holes on the sides on the box the night before the party, but you can’t tell from this picture.
Using a piece of card stock, trace the top of one of the solo cups, so you know how big to make the holes. You’ll want to trim this down though, so the cup opening is actually a little bigger than your cut circle. Next taking the stencil that you just created with the card stock, cut however many circles/holes you’ll have. (These stencils will help you know where to cut on your box.) Once I knew the size of the hole I needed, I actually used my Cricut to cut my circle stencils, because I’m a little bit of a perfectionist. #yep
Once you have all the stencils cut, I HIGHLY recommend laying them out on your box to make sure you are even in your rows and columns. You can even tape the circle stencils down as placeholders while you adjust and readjust your placement. Next, trace the stencils, and using your razor blade, cut out your punches on your box!

You’ll want to decide what colors you want for the paint and the tissue paper. The party theme was TWO-FRUITTI, so I knew I needed tropical, bright colors! I chose a hot pink, chartreuse, and coral colored tissue papers. I used Krylon ColorMaster spray paint in Ballet Slipper as my box color. I liked the satin finish as a gloss would end up sticky and drippy IMO.
I only sprayed 3 sides of the box. You’ll end up cutting out the back of the box (next step). I did 2-3 coats of spray paint and let it fully dry outside before I moved forward.
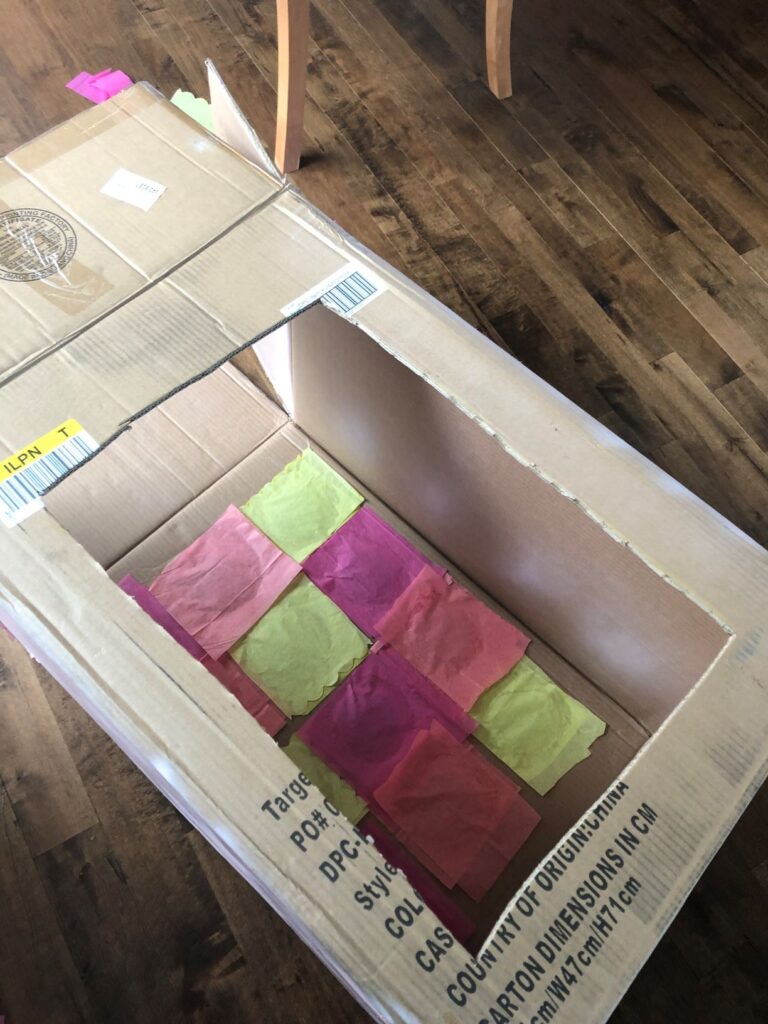
Now what you’ll notice above is tissue paper already placed-that’s because I realized I needed to cut the back out of the box FIRST before moving on. Learn from me, and cut the back out of the box before moving on… I cut it out like a frame, so I could access the back but also so that the box wouldn’t loose it’s shape/stability when one side was disrupted.

Take your tissue paper and cut it into squares big enough to cover the holes, but not too big where they’ll overlap a hole next door. I made a pattern out of my colors, so you’ll have to decide what pattern you want. You can also do all the holes using one color tissue paper-it’s totally up to you! Use your hot glue gun and glue all around your hole and place the paper. I decided to make mine 2-ply because it made the colors of the paper more opaque from the outside, and I wanted a bolder look of color. You know I love color!

Now is the fun part! Place your prizes in your cups, and place your cups on each tissue square, lining it up with the cut hole. If it is not lined up, the game won’t work when the hole is punched! Your guests need to punch in the hole, so your cup has to be in line, so there’s no #partyfail.
I used a mix of prizes for the kiddos coming to our party. The trick is just to find ones that are small enough…the glasses I used were a little too big, but we made them work! If you need some ideas, check out this variety pack. I also never underestimate the power of a ring pop for kids… they’re both glamorous and entertaining, ha! These would have been the perfect size and perfect choice for our party full of girls in hindsight!
Hot glue your cups to the inside of the box (Now, you’ll understand why you needed to cut out the back of the box, right? You’re welcome!) When everything is secure and dry, flip the box up.
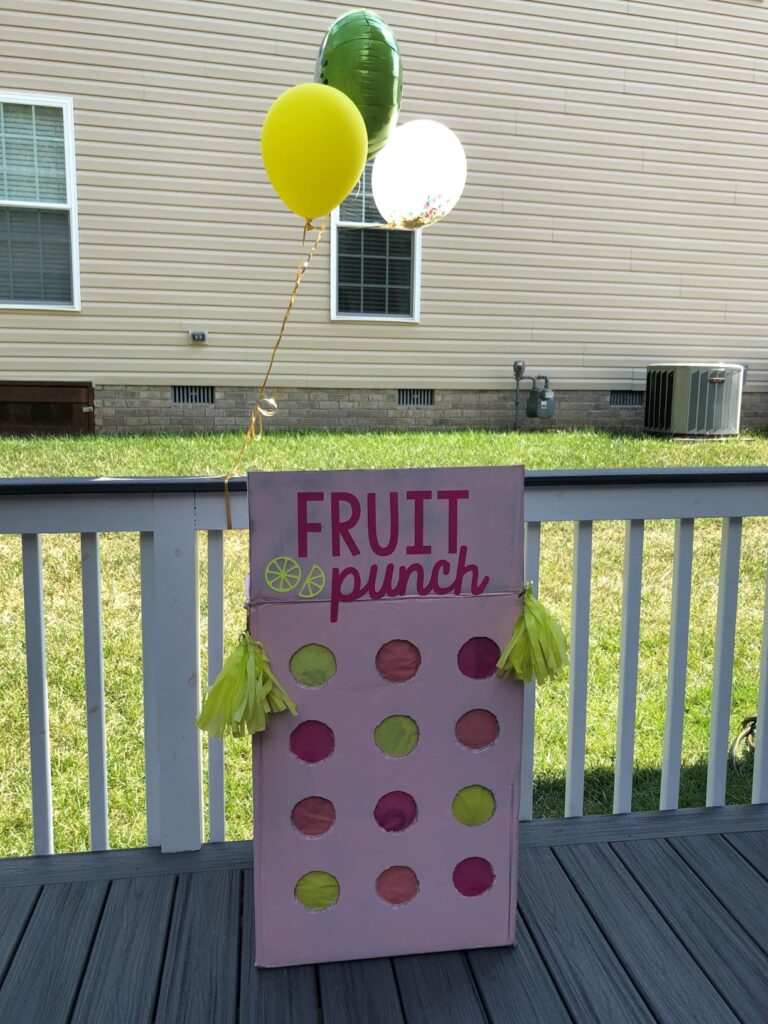
I made a ton of tassels with the extra tissue paper I had and added them to balloons and other garland throughout the party. I had two left, so I decided to add them to the piñata box along with the words “Fruit Punch” to coincide with the party’s theme…I love a good play-on-words, so when I thought of Fruit Punch, I was literally giddy! I cut the letters using my Cricut and glued them to the top part of the lid that practically stood up by itself with the two other sides pushed under it.


The piñata was so much fun! You might have to help the younger kiddos “punch” hard enough, but trust me, the older kids will gladly show them. Everyone loved it!
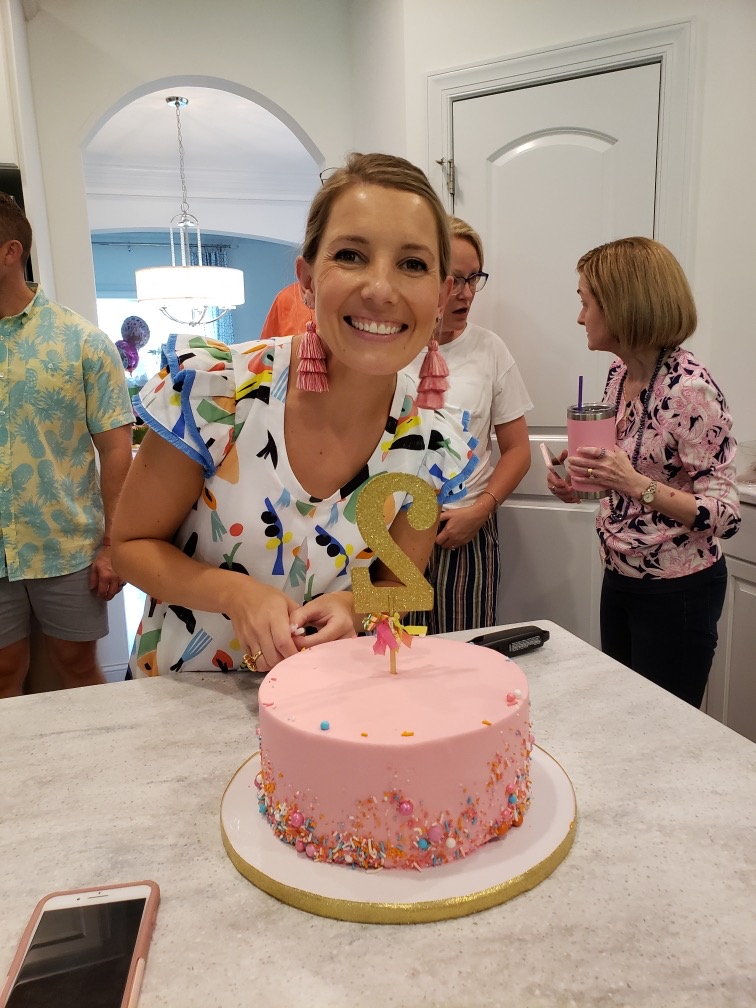
Here’s a peak at what the rest of the party looked like, just in case you’re wondering! We had great food and great company, and we felt so blessed by those who came to love on our angel-girl that afternoon.


I know parties are a little difficult this year with Covid! This game works even with a small gathering of kids…hey, you could even make it for adults and put gift cards in the cups…yup, just thought of that as I was typing this. Ok, I need to go plan something for my mama friends for an adult punch piñata…
If you decide to make one, I would love to see it! Send me a picture or tag me on insta @kathryn.sloop


