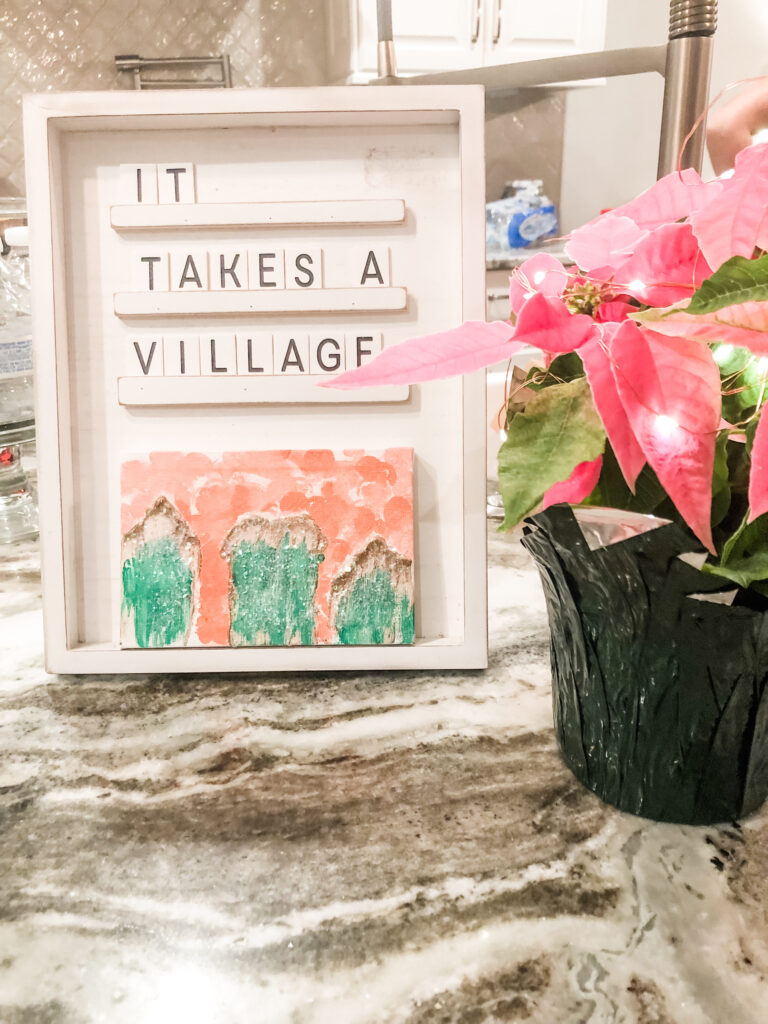
My mom group had the best Moms’ Night Out this month! We paired a craft with some delicious beverages and snacks, and well, it was a win-win-win situation!
We call our group of mamas Our Village, so creating our own Christmas Village was THE perfect theme for this event!
It takes a Village to raise a child. It also takes a Village to raise a Mama.”
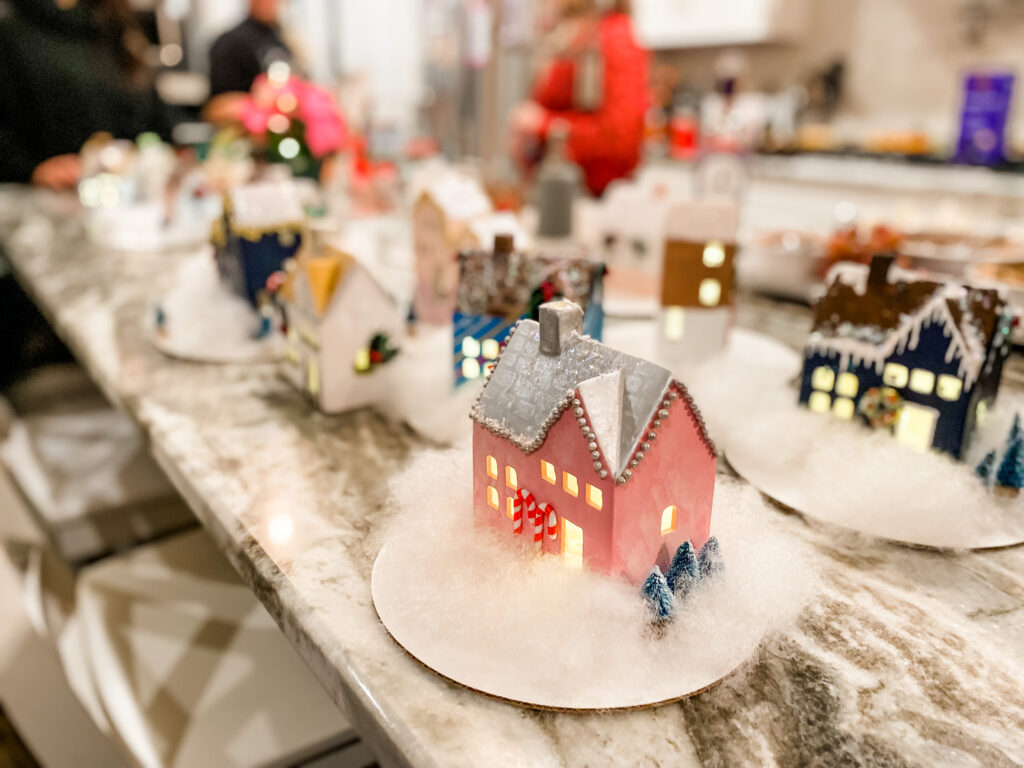
We had about 25 moms attend, and it was a really great group of women. There was so much laughter and silliness, and we stayed longer than we should have! Before I go in to the details of the event, there was a lot of prep work that had to be done beforehand. There were 4 of us working behind the scenes to execute the perfect holiday-inspired MNO.
Let’s start with everything you’ll need to make these adorable Christmas Village houses, because I know you’re swooning already!
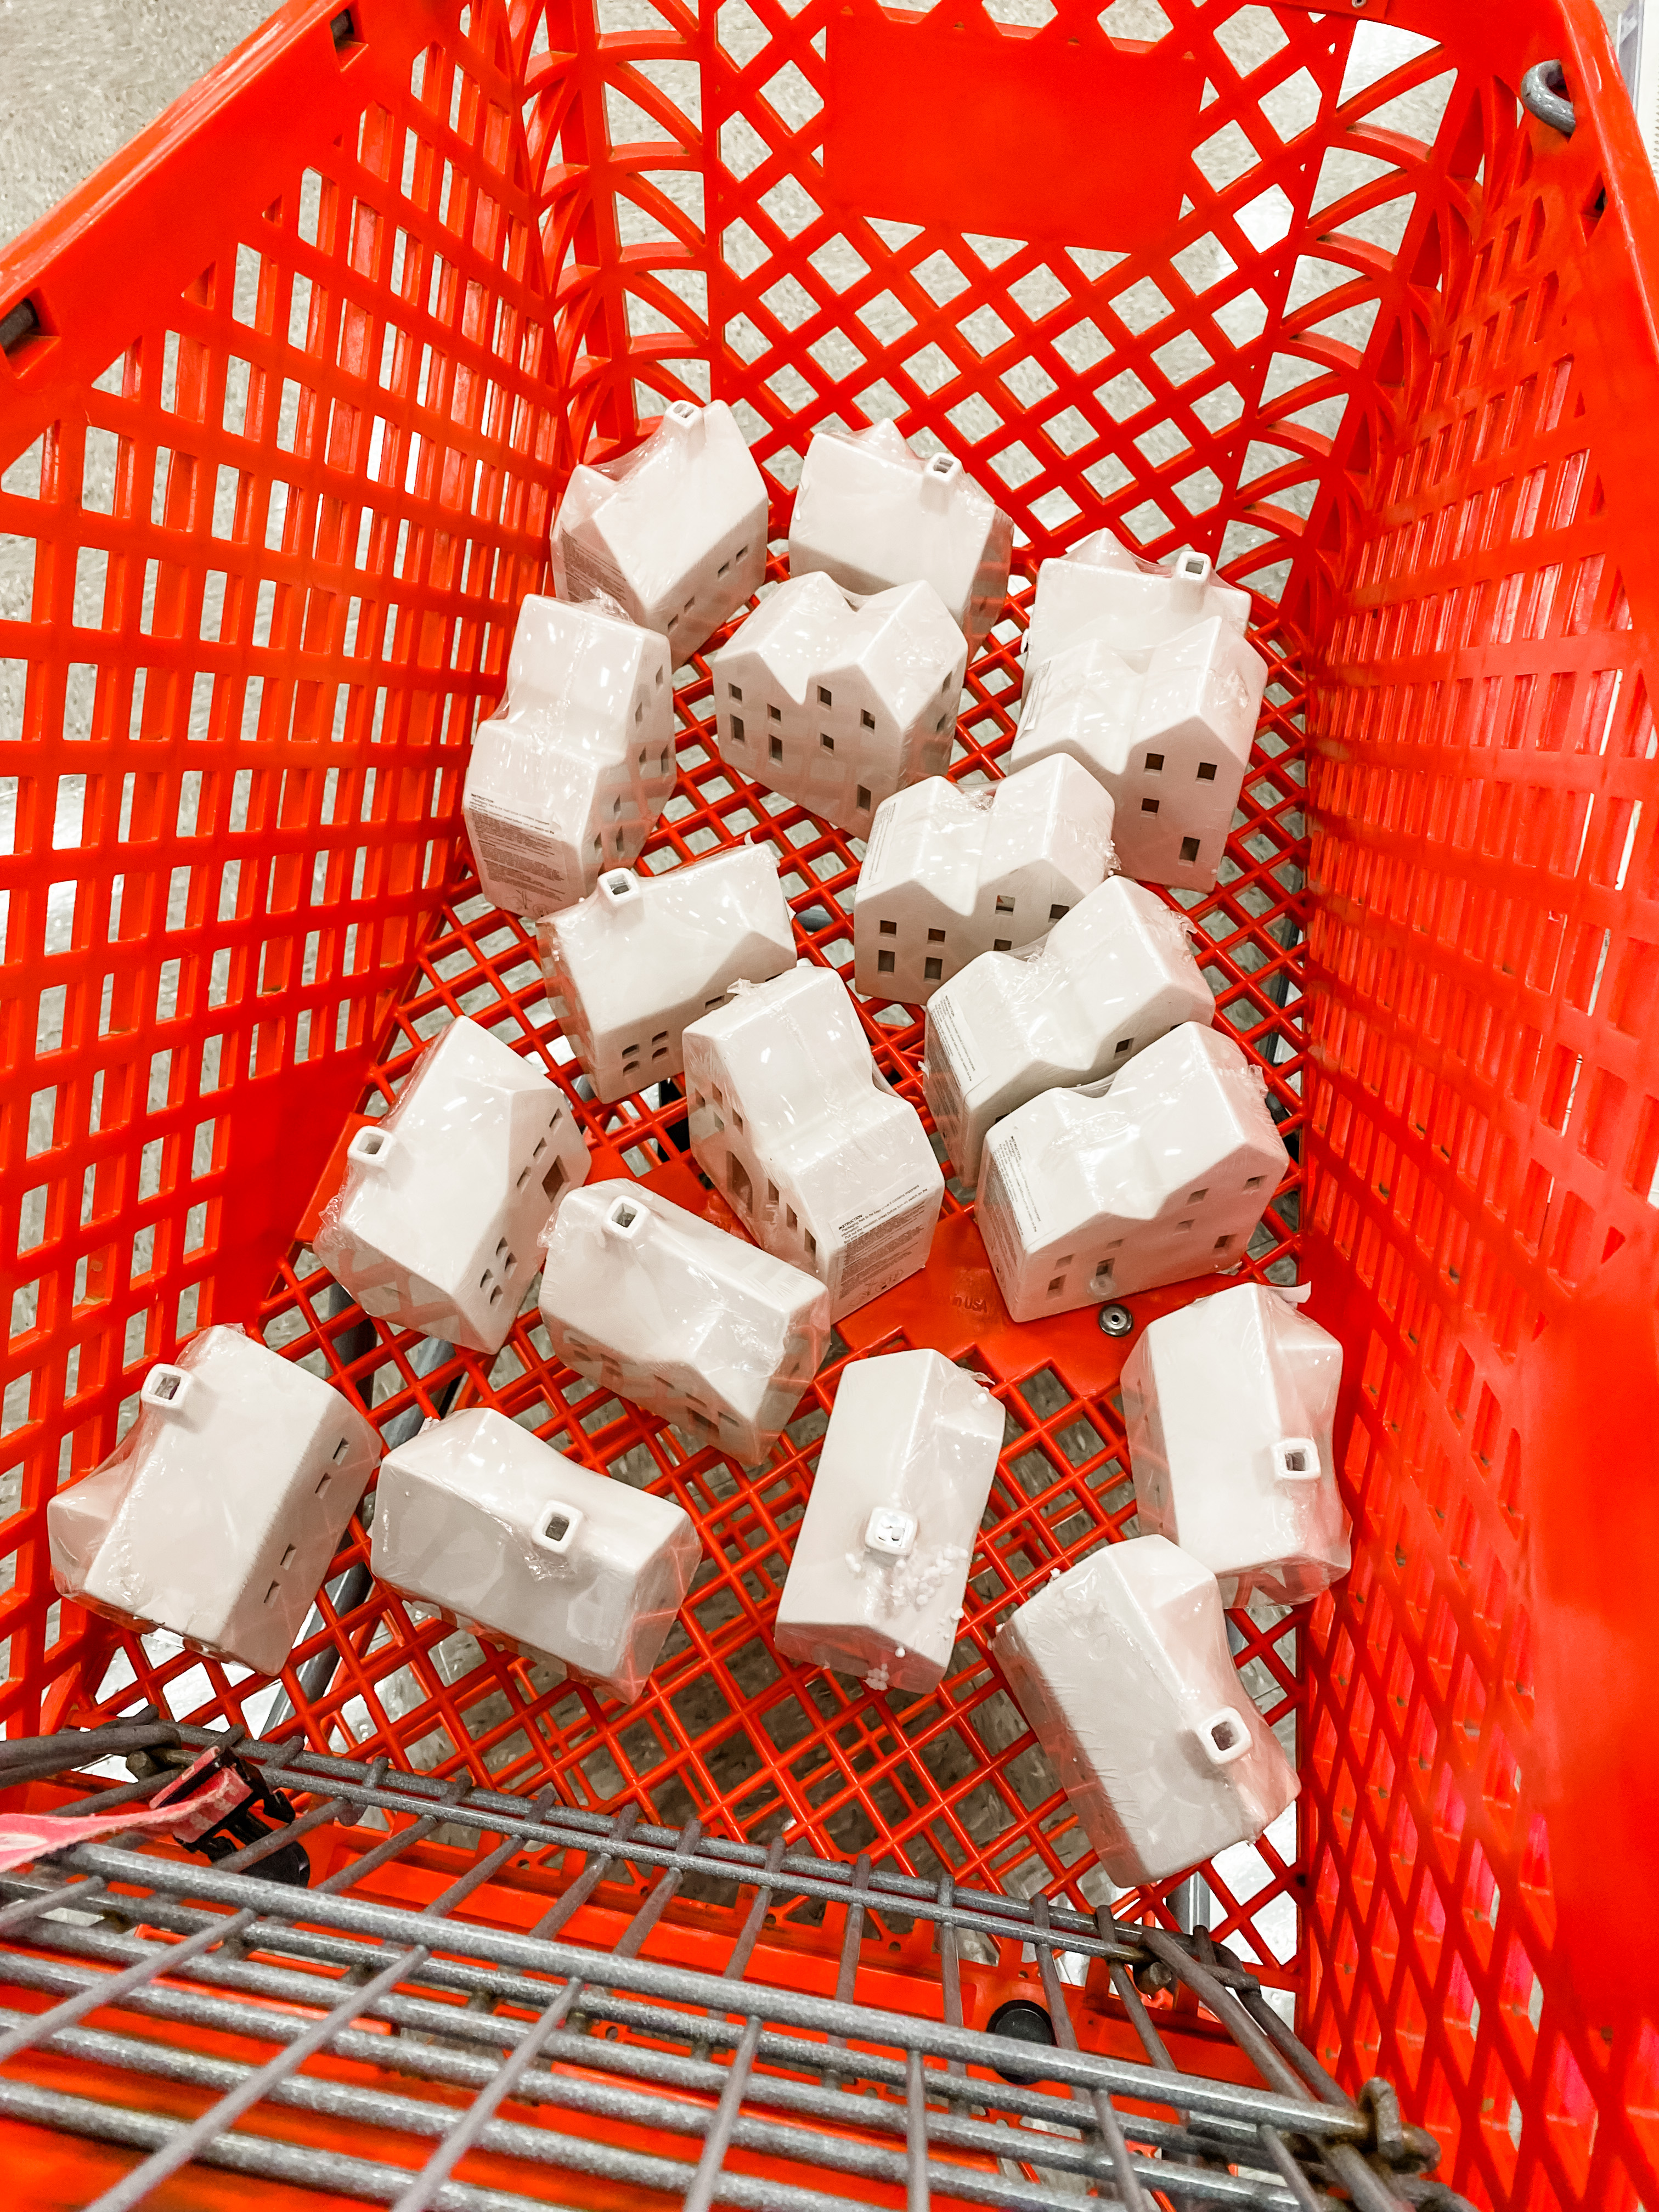
We started shopping early for this event, for a few reasons. First, we wanted to make sure we could actually get everything we needed in time (hello, things sitting in cargo containers). Secondly, we didn’t want a panic of having not quite enough of something, mainly the houses.
You could go in a few directions with this. Wooden bird houses make precious little village houses as well as cardboard houses that you can find on Amazon and Etsy. We chose the Target route! These little guys (above) were $3 each found in the Dollar Spot section (and they even had a working light inside). It was more economical for us to go this route, so we hit up the Targets in town and snagged enough for the event.
Before we go any further, I should tell you we also created the event via Facebook and mamas had to register for the event. This way we knew how many were coming early on, and it wasn’t a last minute scramble to see what the guest list total was. We were secure with our numbers about two weeks before the event. PHEW. Mamas did contribute a small fee to help cover the supplies and food. (If you were hosting a smaller gathering like this, you could easily cover the expenses yourself.)
Back to what you’ll need…
Here are the supplies we gathered for the houses; I’ll add party details later on in this post.
- Houses
- Acrylic paint in various colors, including metallics
- Paint brushes in a variety of sizes
- Tacky glue
- Spray Adhesive/craft bond
- Iridescent snow
- Mini wreaths
- Mini trees
- Hot glue guns
- Painters Tape
- Bakery circles/cake boards (the houses will sit on these)
- Stuffing for “snow” on the boards
- Acrylic sealant
- Fabric filling/stuffing for snow
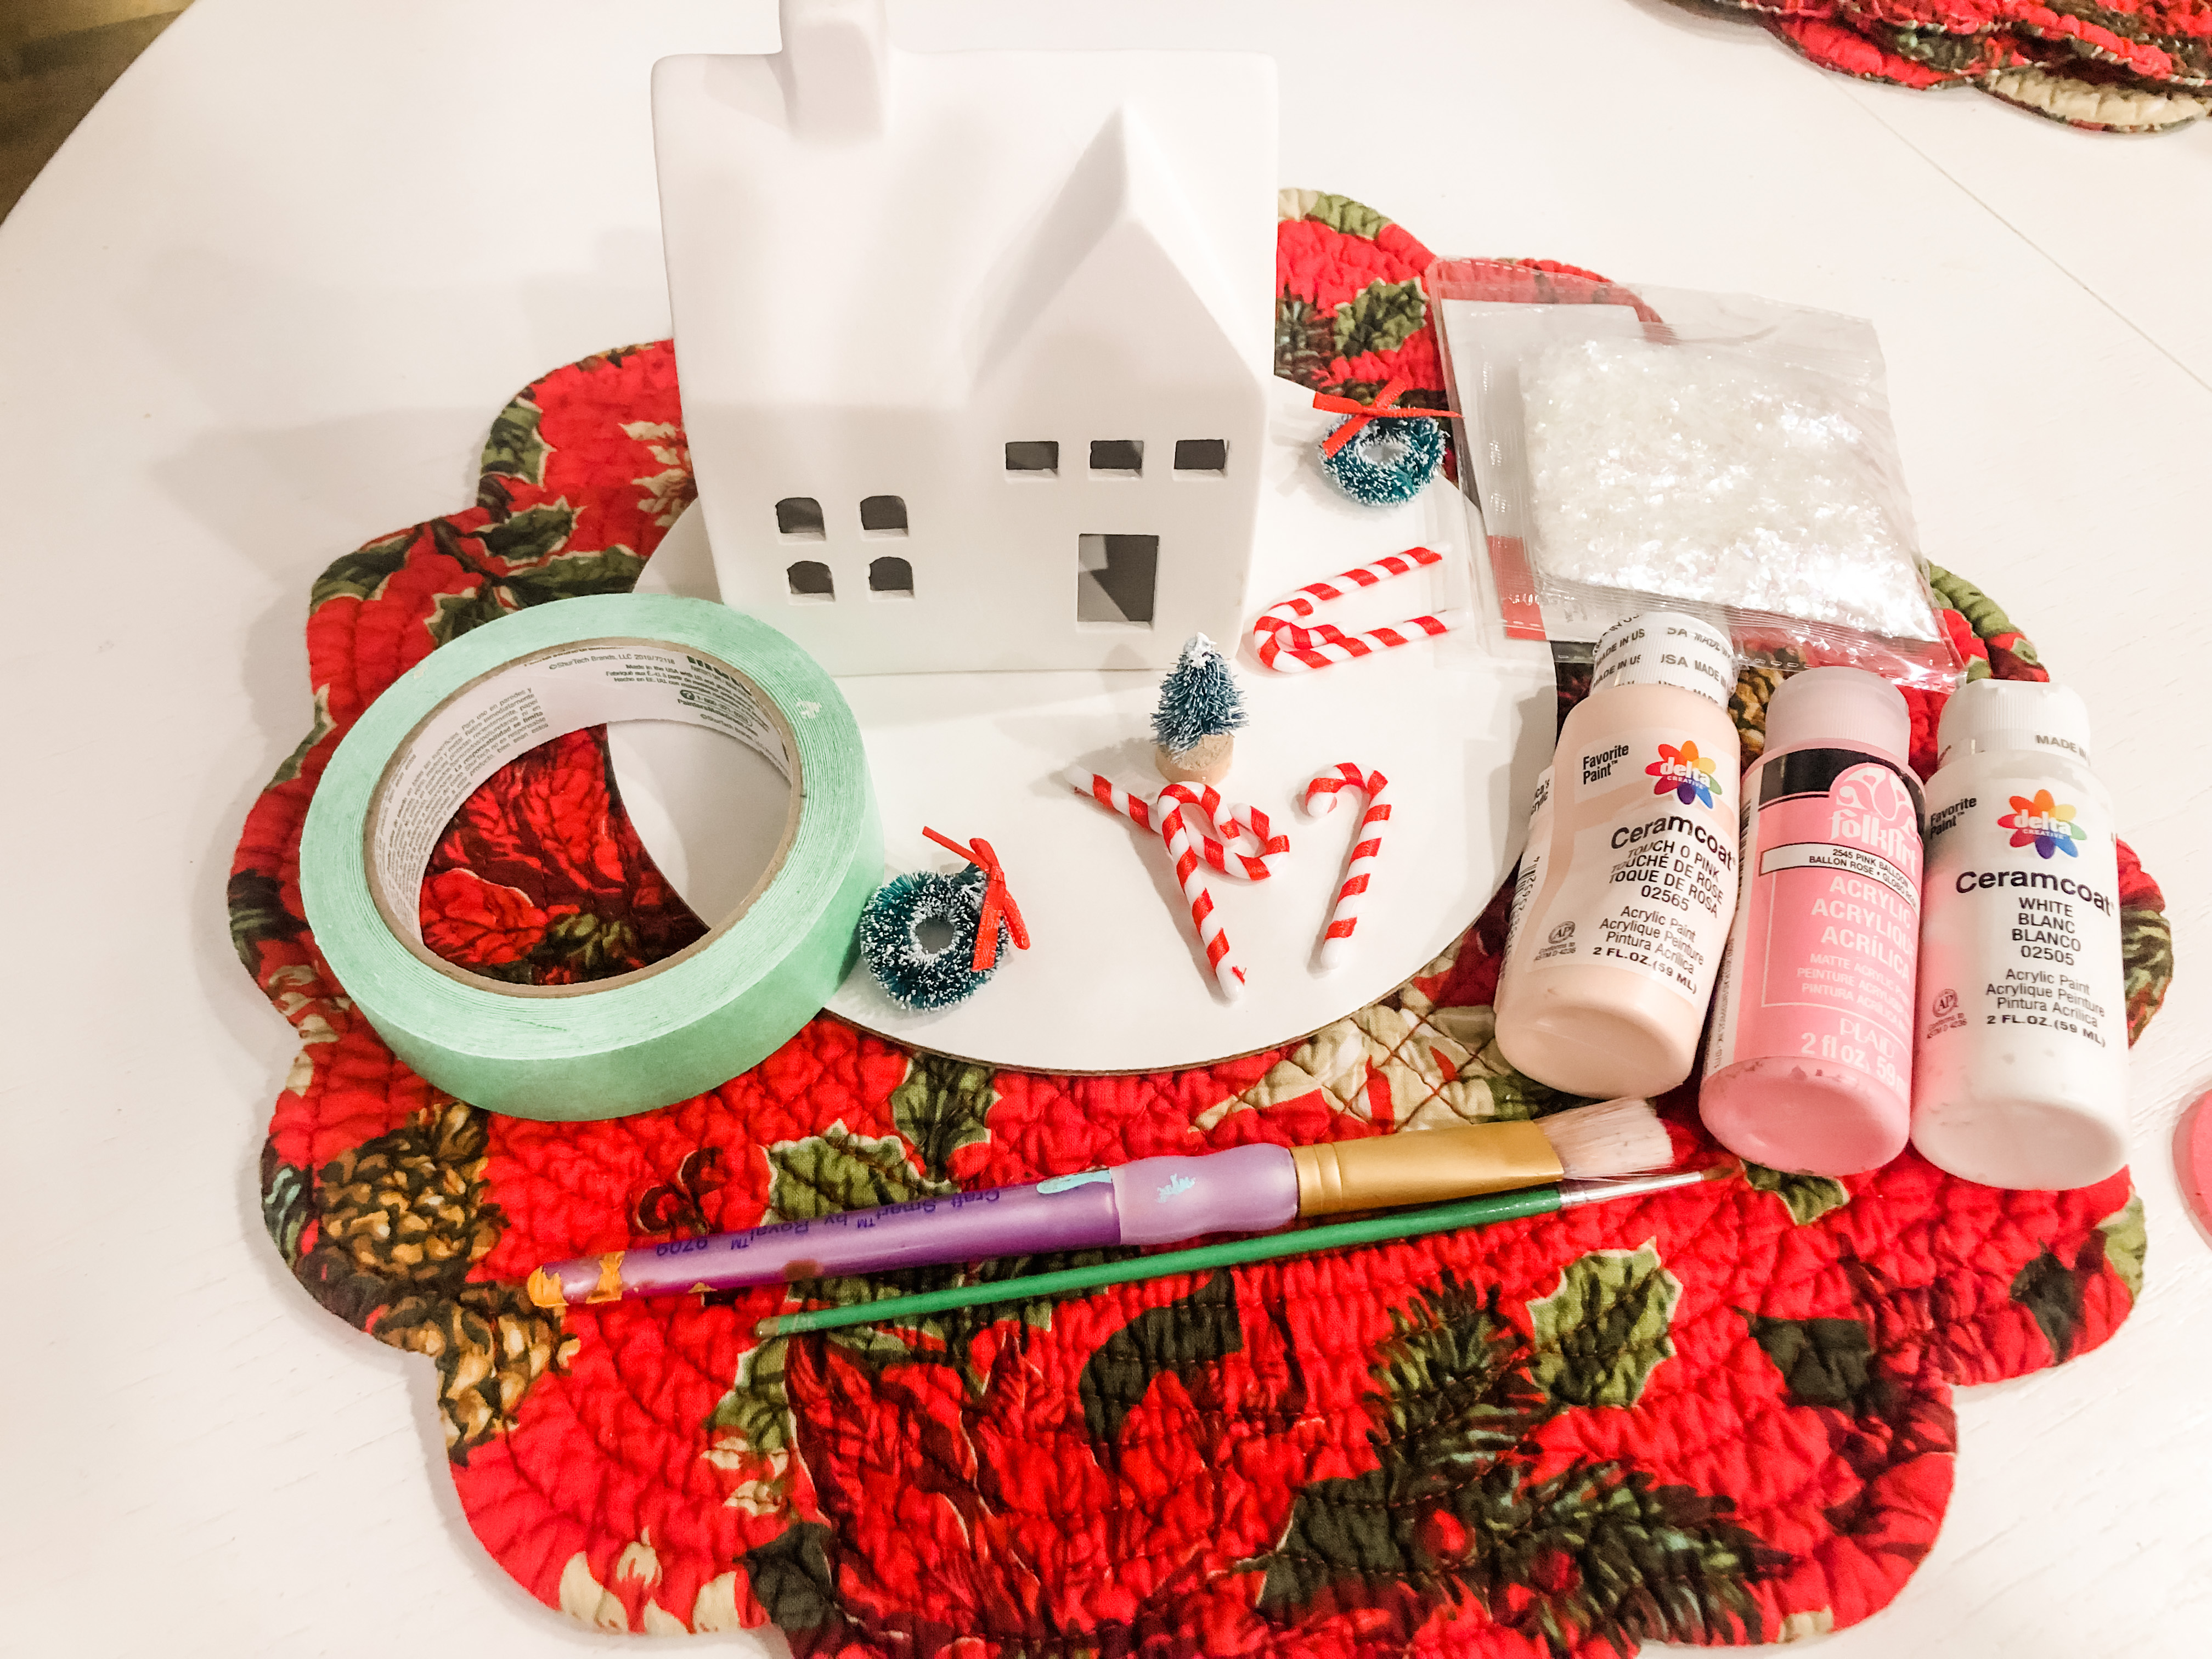
When you have everything to get started, you’re ready for the hardest part: deciding how you want to decorate your house! I decided to make mine a little contemporary looking, so I decided to whip out the painters tape and do a color-block look. I chose my paint color based on where I wanted my house to “live” in my actual house (amongst my collection of little pink Christmas trees of course).
I placed the painters tape where I wanted the color, and I painted under it. When I removed the tape, I had a clean, straight line. I decided to paint the chimney too, because I wanted a little more color!
Also, yes the house is actually white, but I knew I wanted it to have a glossy finish (at the end I used an acrylic sealant to achieve this). This meant I would need to paint the white part, white, otherwise the sealant would just seal the ceramic house which is actually very matte (think chalky feeling) and not give me the glossy, shiny look I wanted.
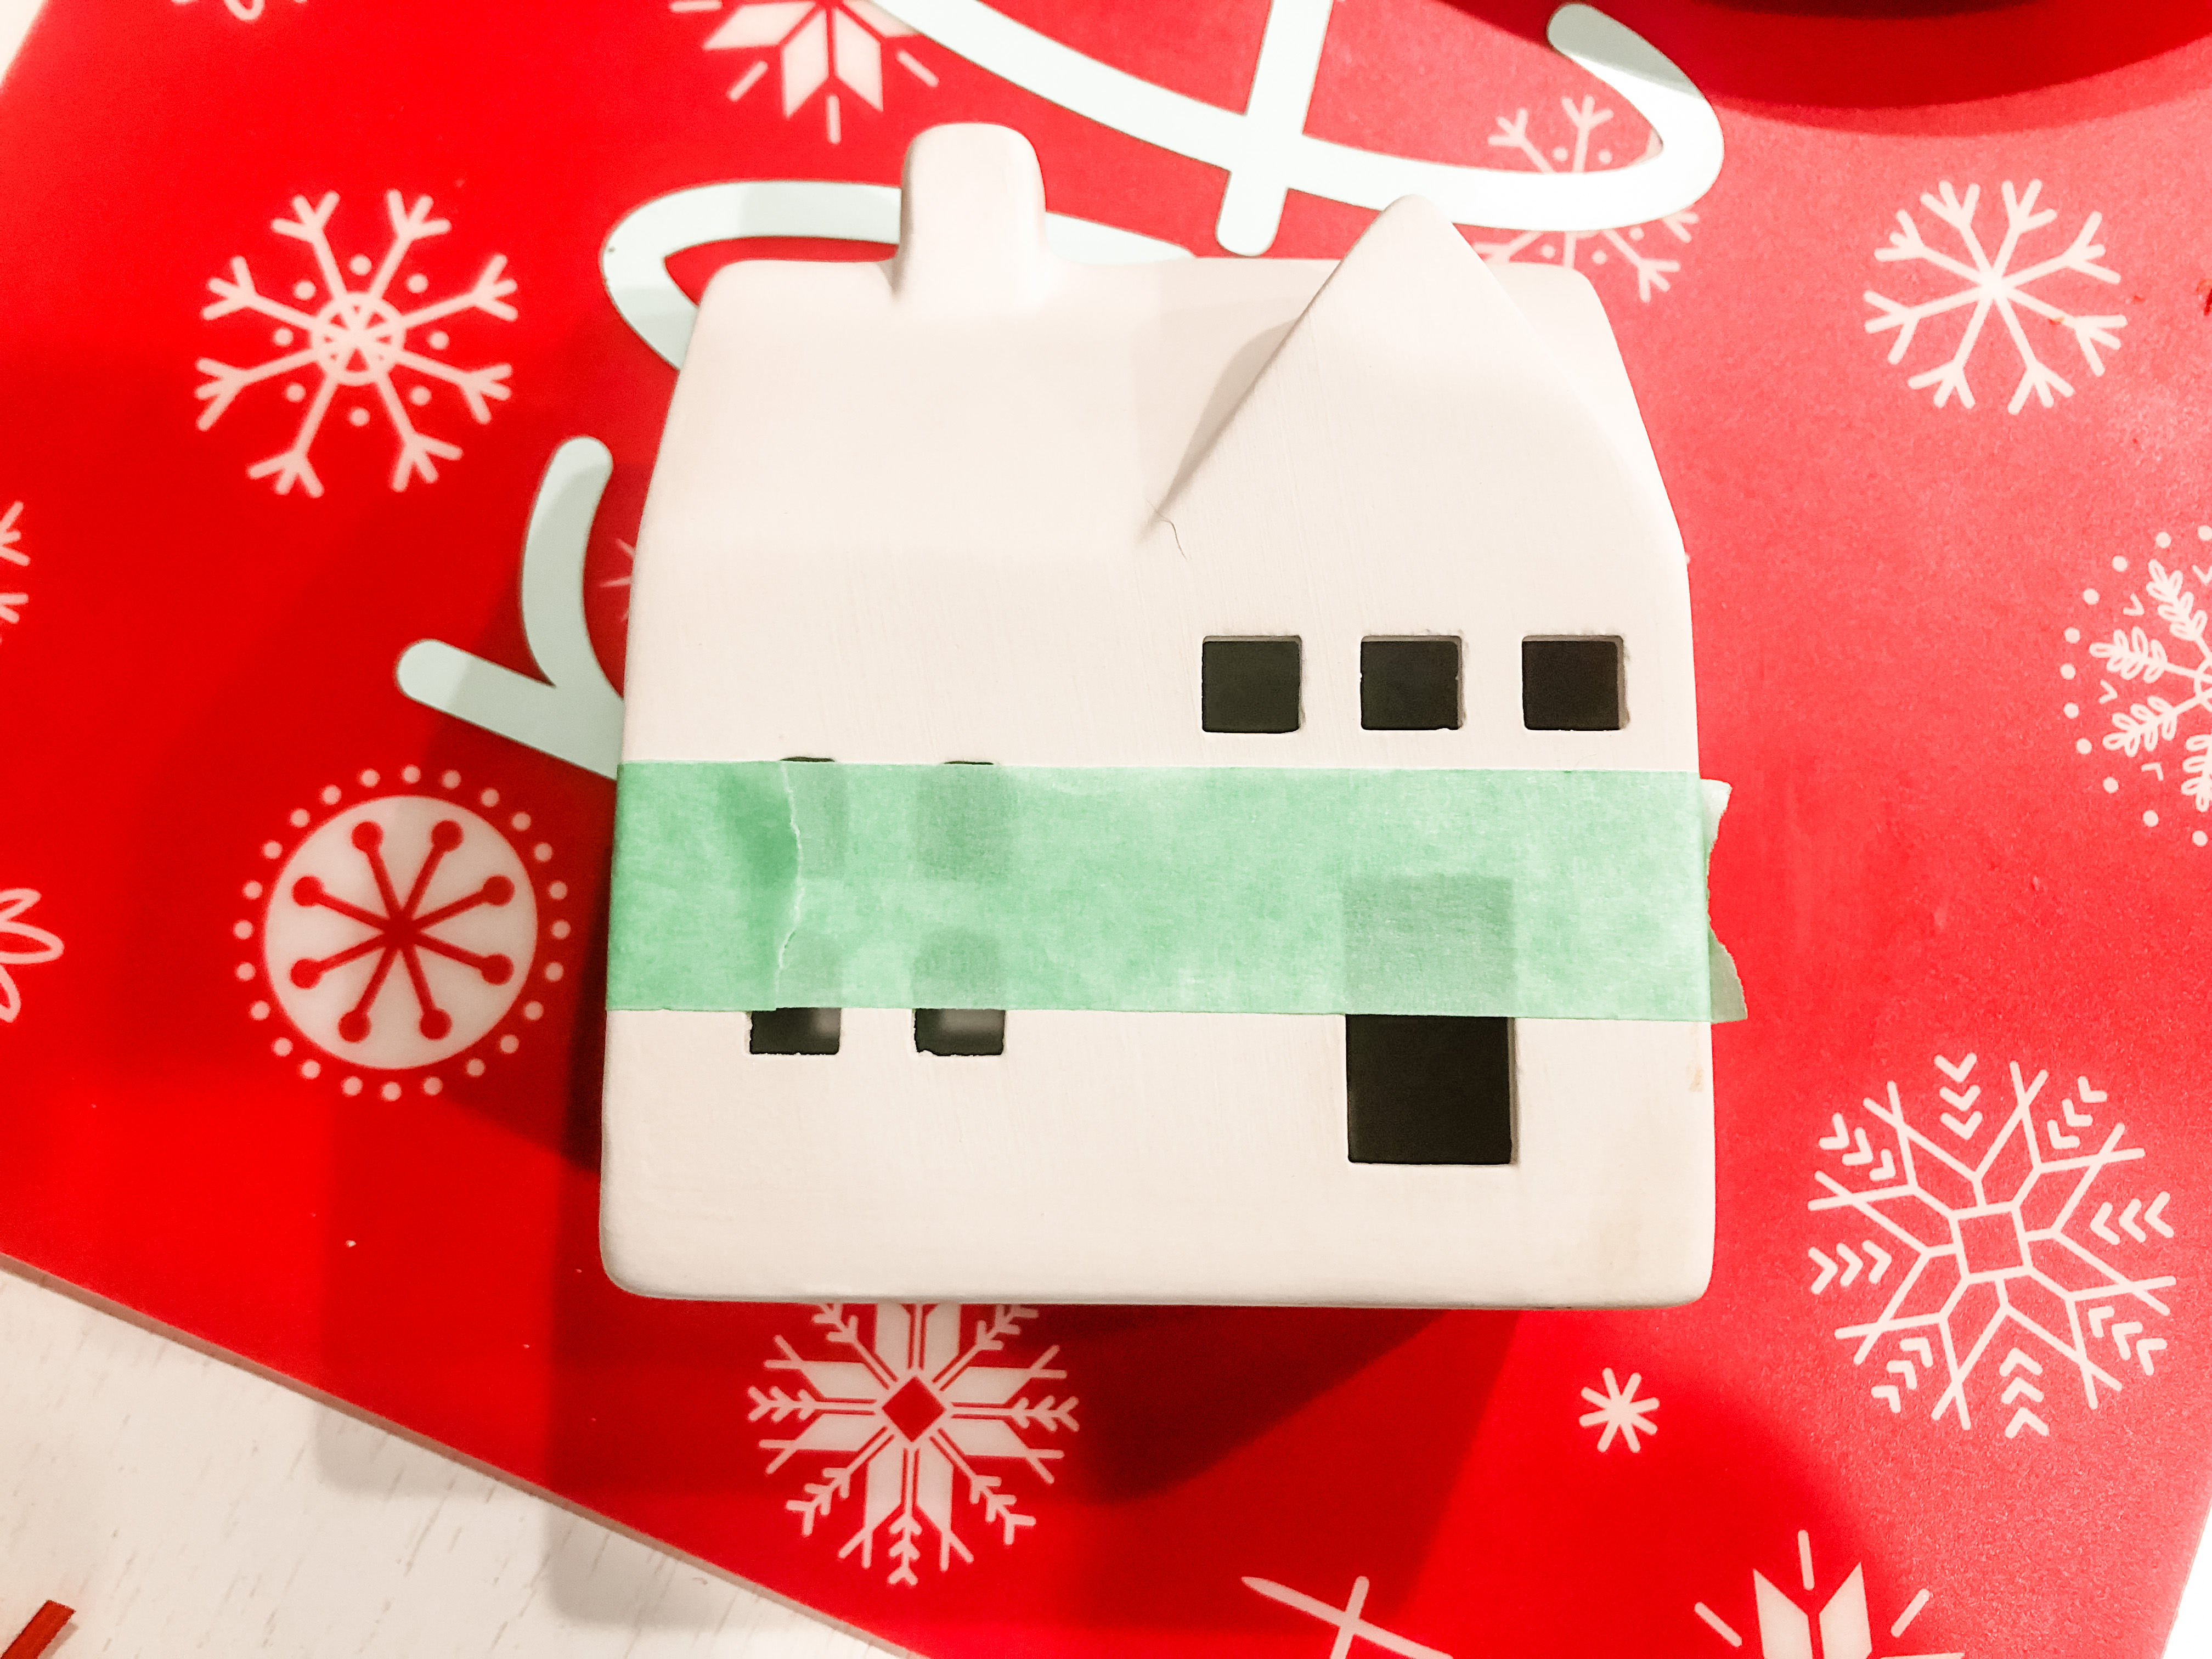
When the paint was dry, I broke out the painters tape again to mark off where I wanted the “snow”. The tape helped keep the spray adhesive I was using from getting where I didn’t want snow. If you catch my drift. Pun intended.
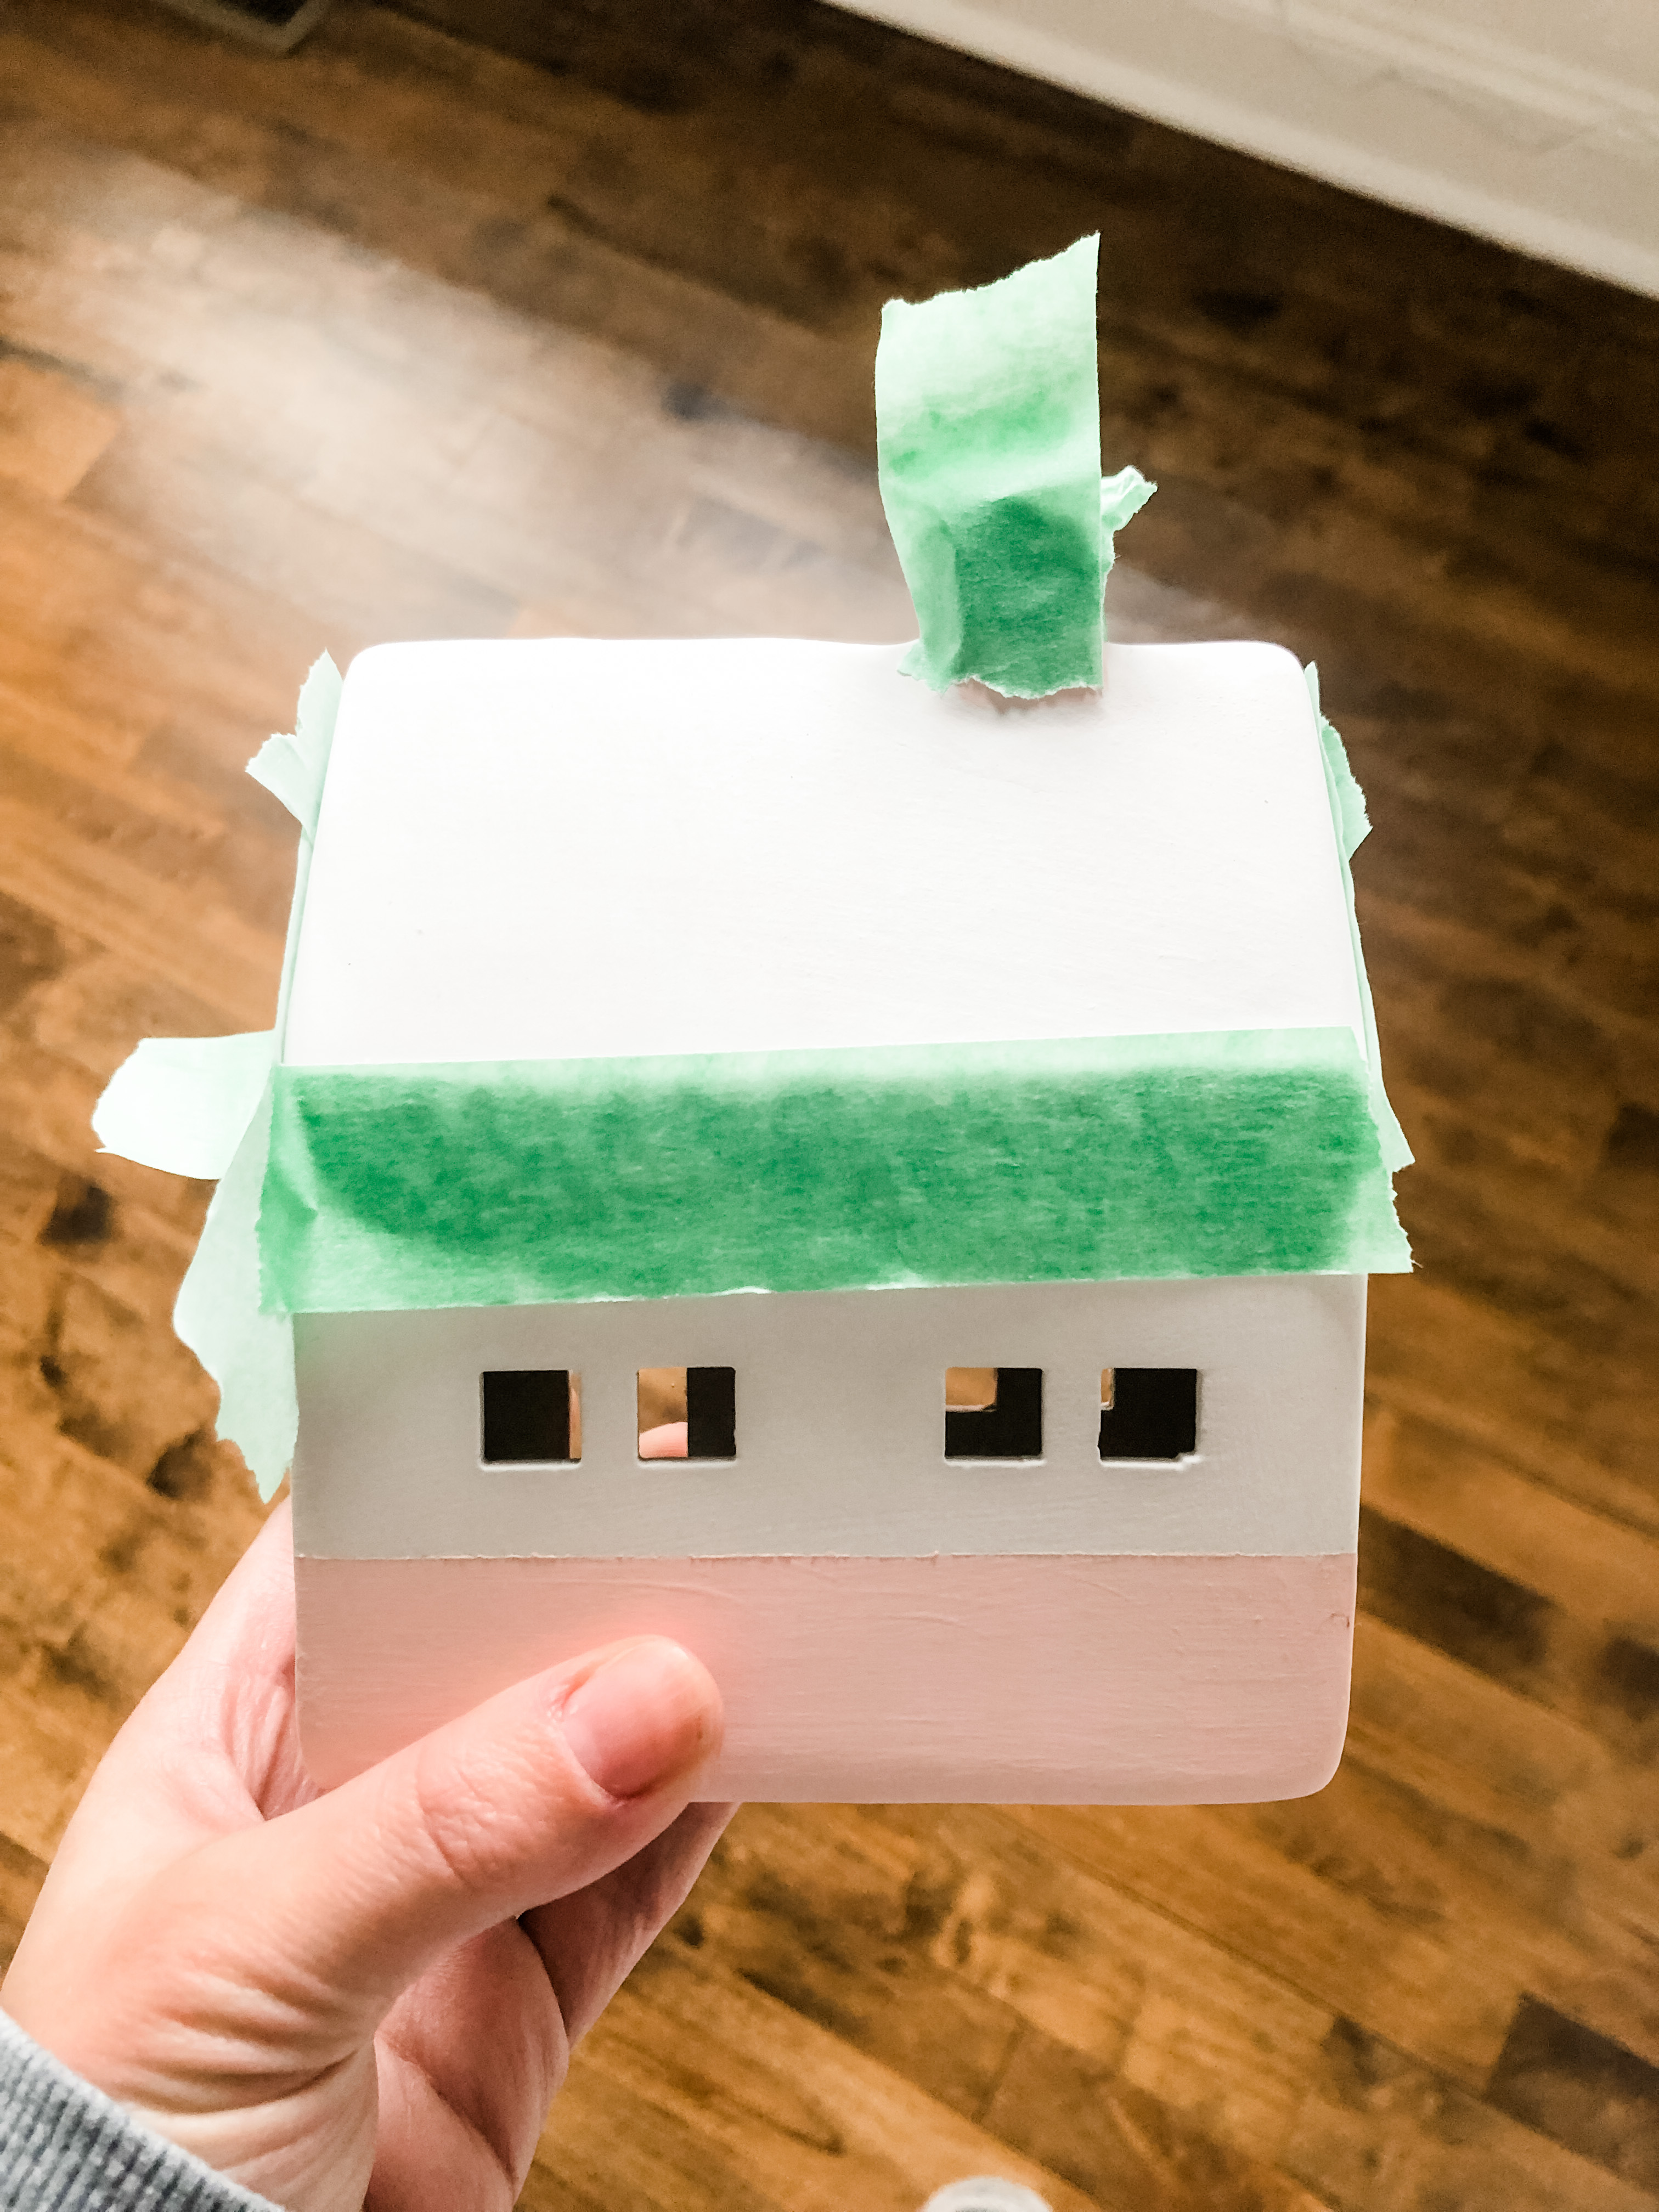
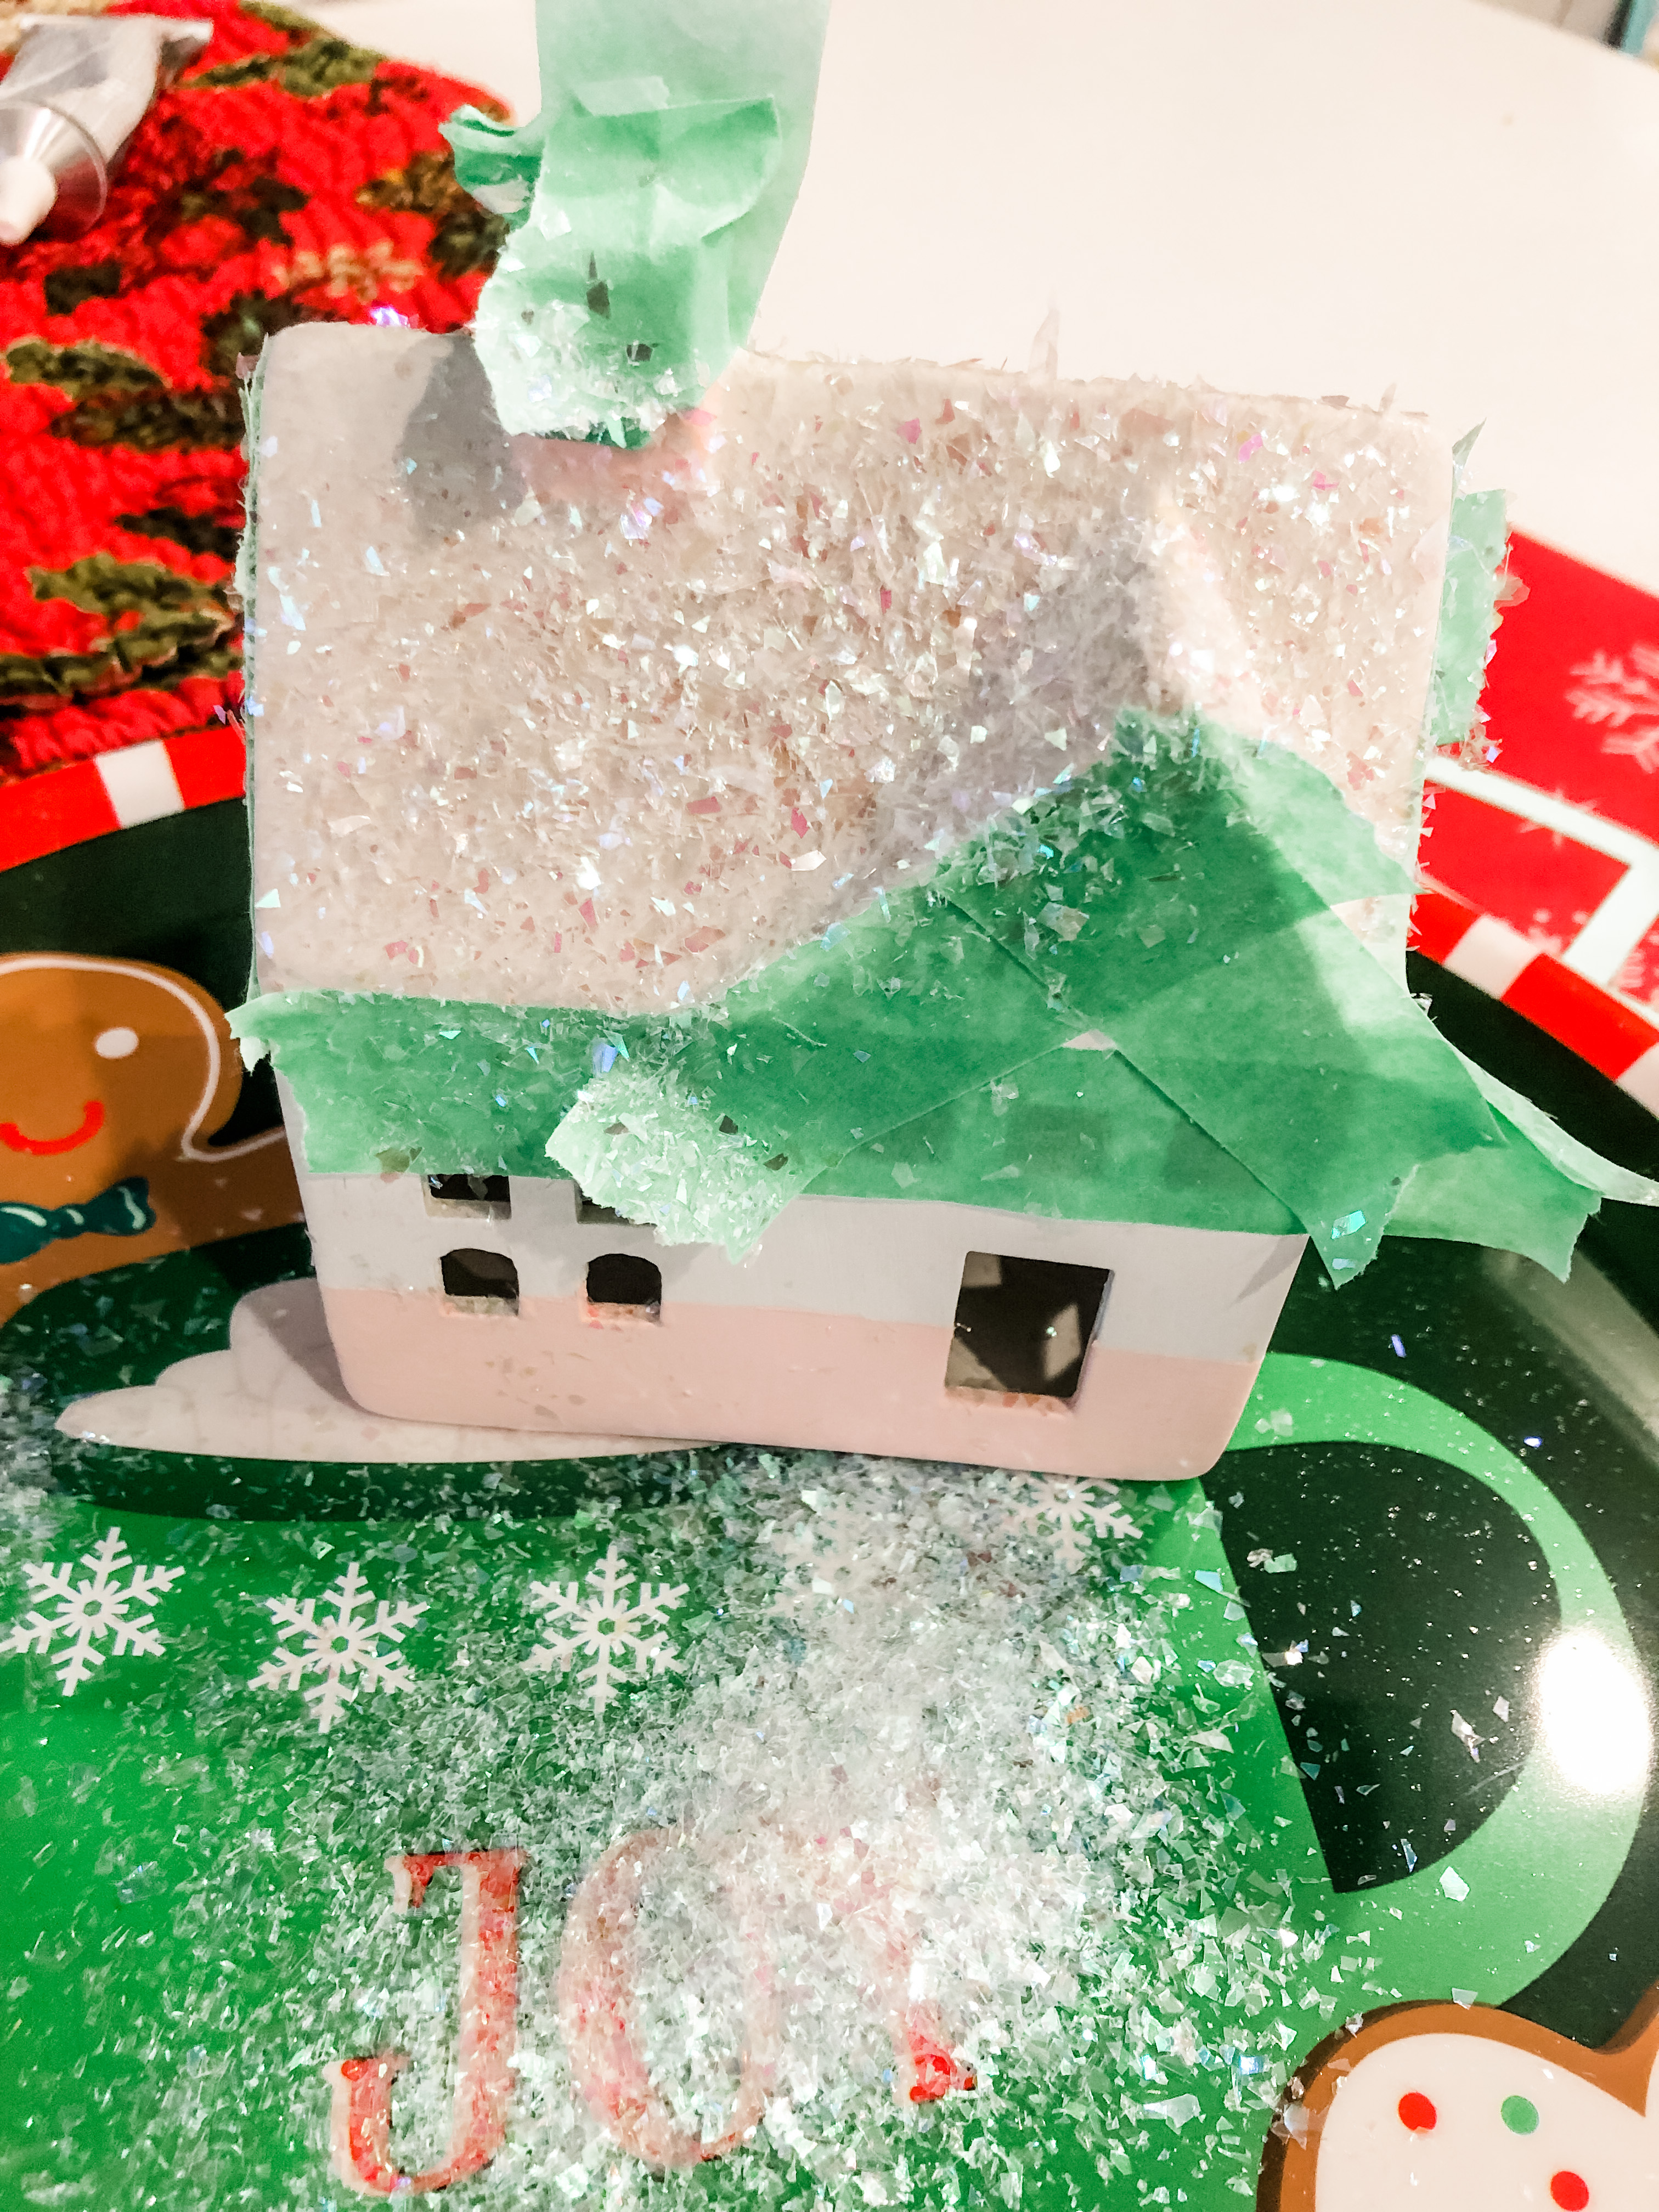
I only used a scoop of snow about the size of a Nickle, and sprinkled it directly on the parts of the house where I had sprayed the craft bond/adhesive spray. Pro tip: make sure you’re adding the snow over a tray, box, or trashcan…treat it as if it were glitter!
The last thing I did was spray the entire house with the acrylic sealant. This gave the glossy, shiny look I mentioned earlier and it helped keep the snow from shedding.
When everything was dry, I added the decorations! This was the really fun part… You could easily hot glue your decorations (mini trees, wreaths, candy canes, holly, gifts, etc.) or use tacky glue. (For the party, we did not use hot glue guns only to limit the amount of controlled chaos we would have, ha! Tacky glue worked just fine for our large group, and we passed out multiple bottles on the tables for everyone.)
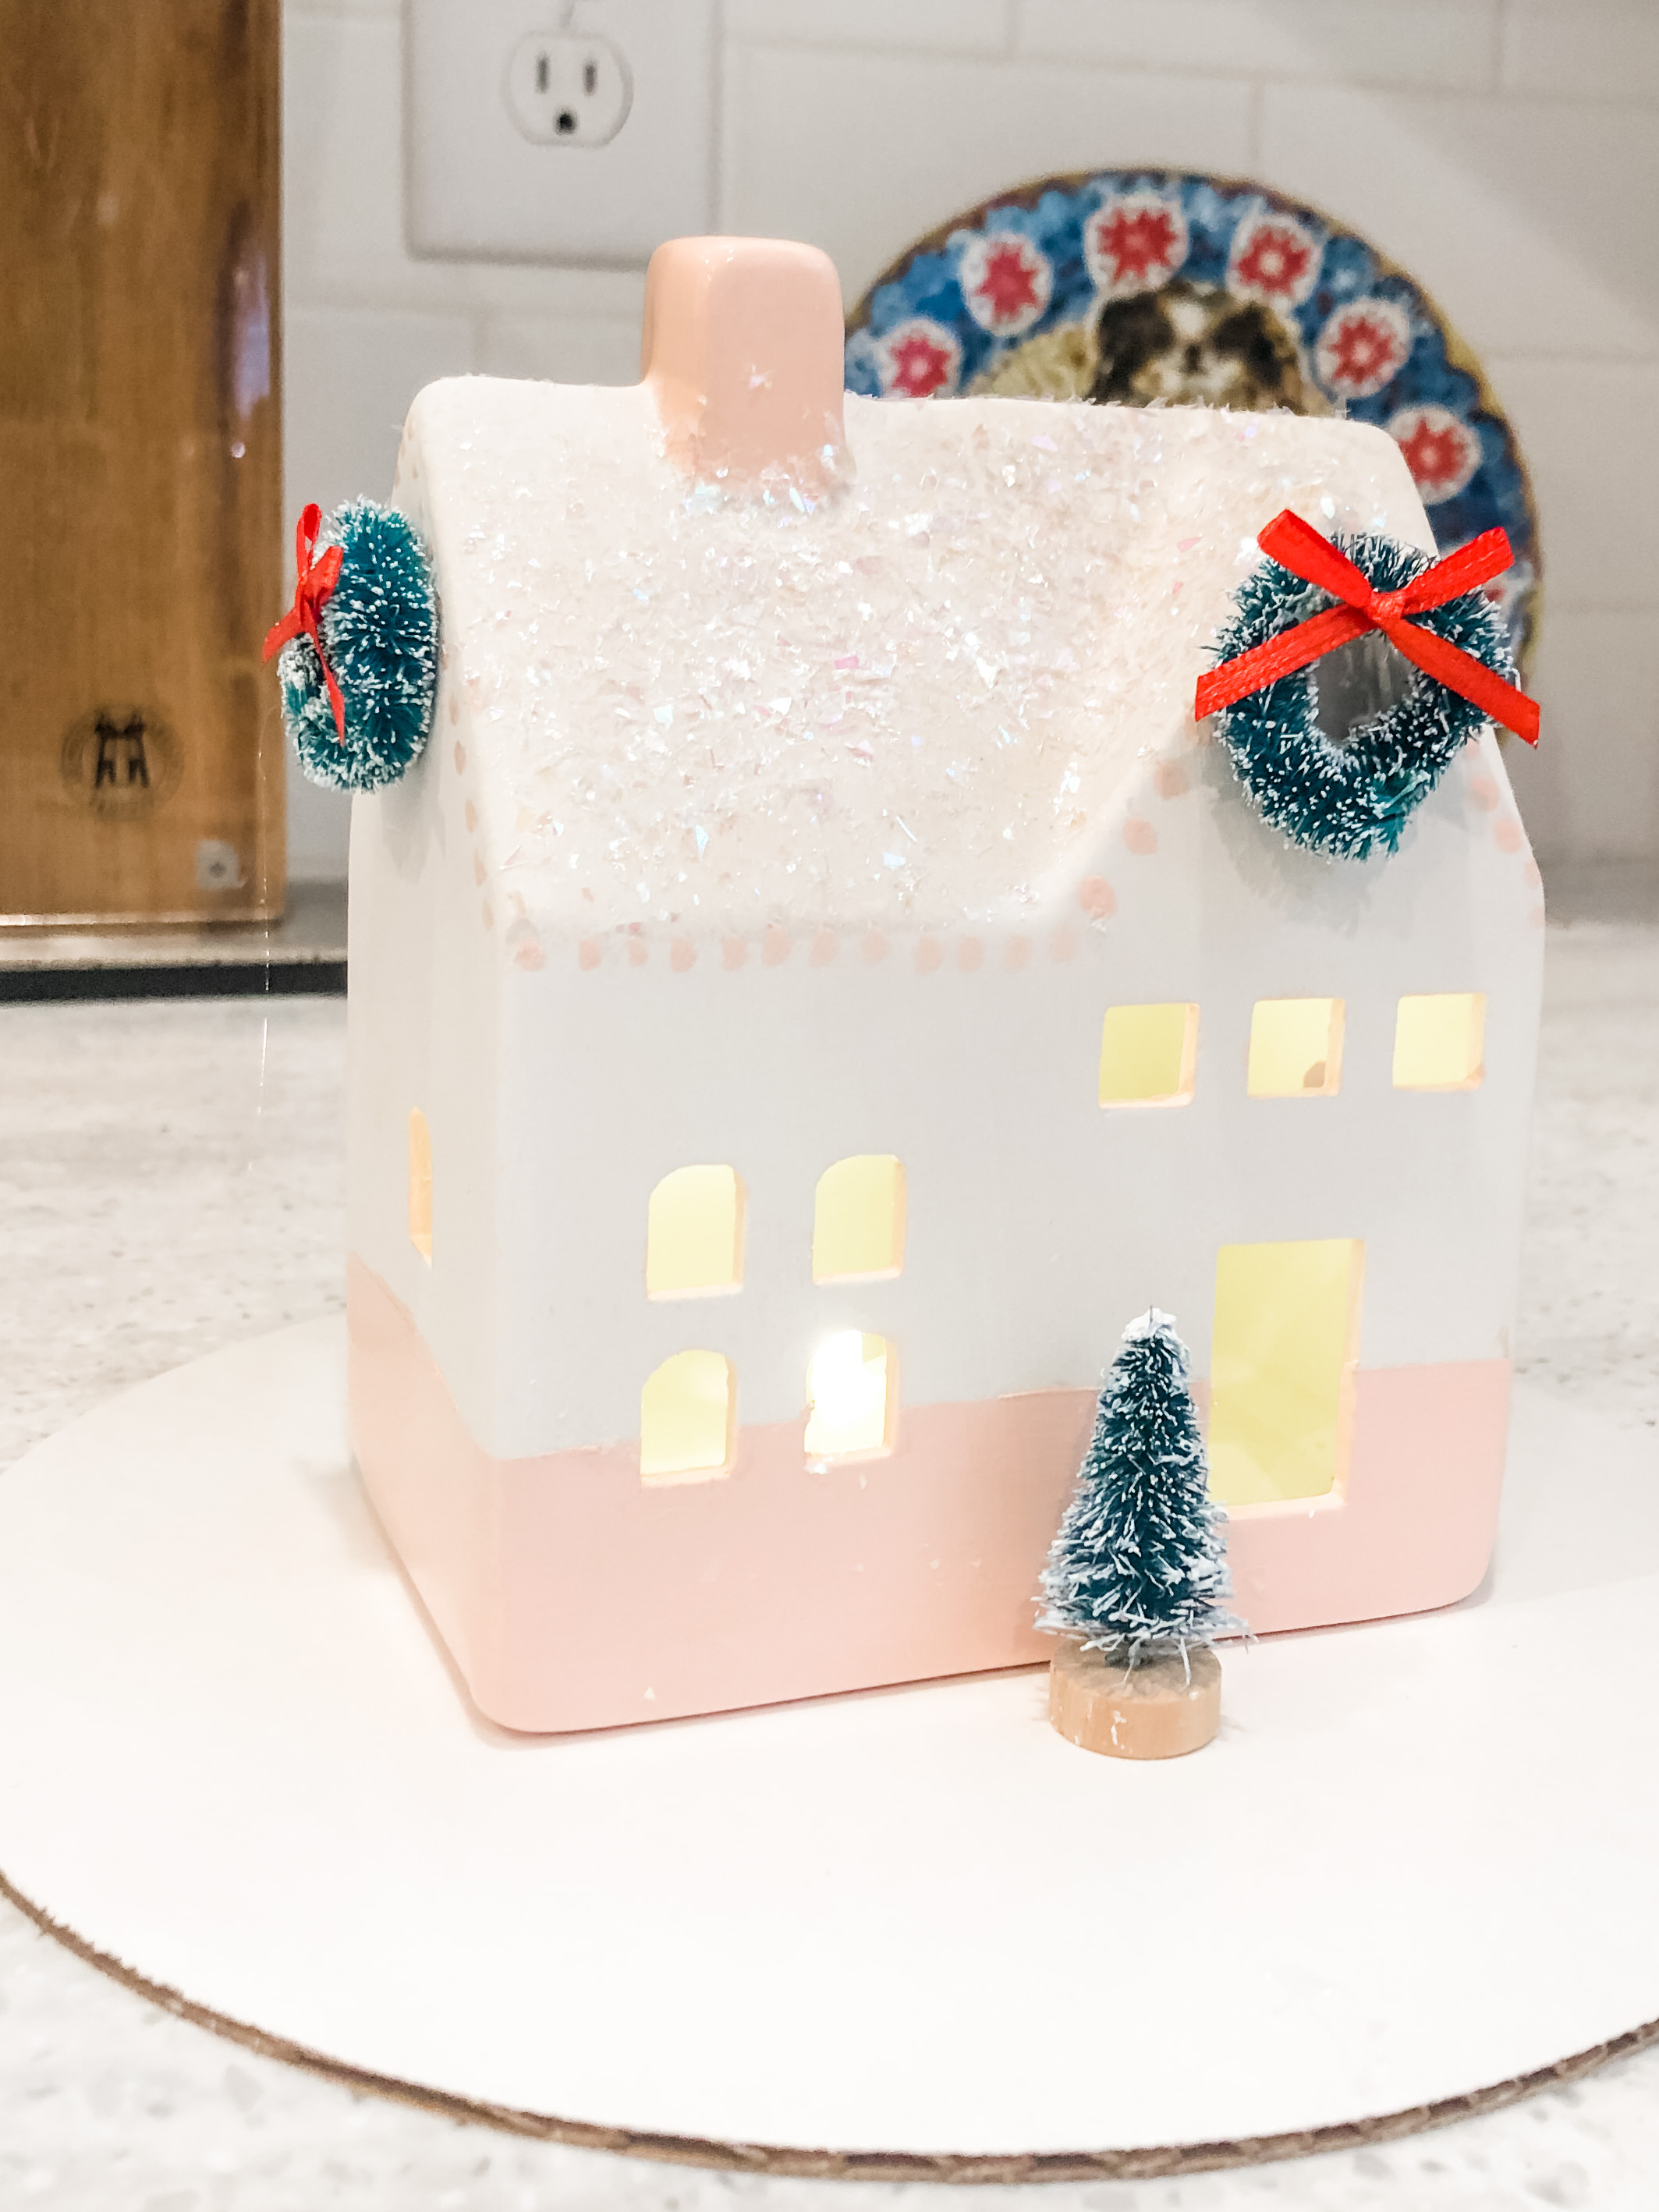
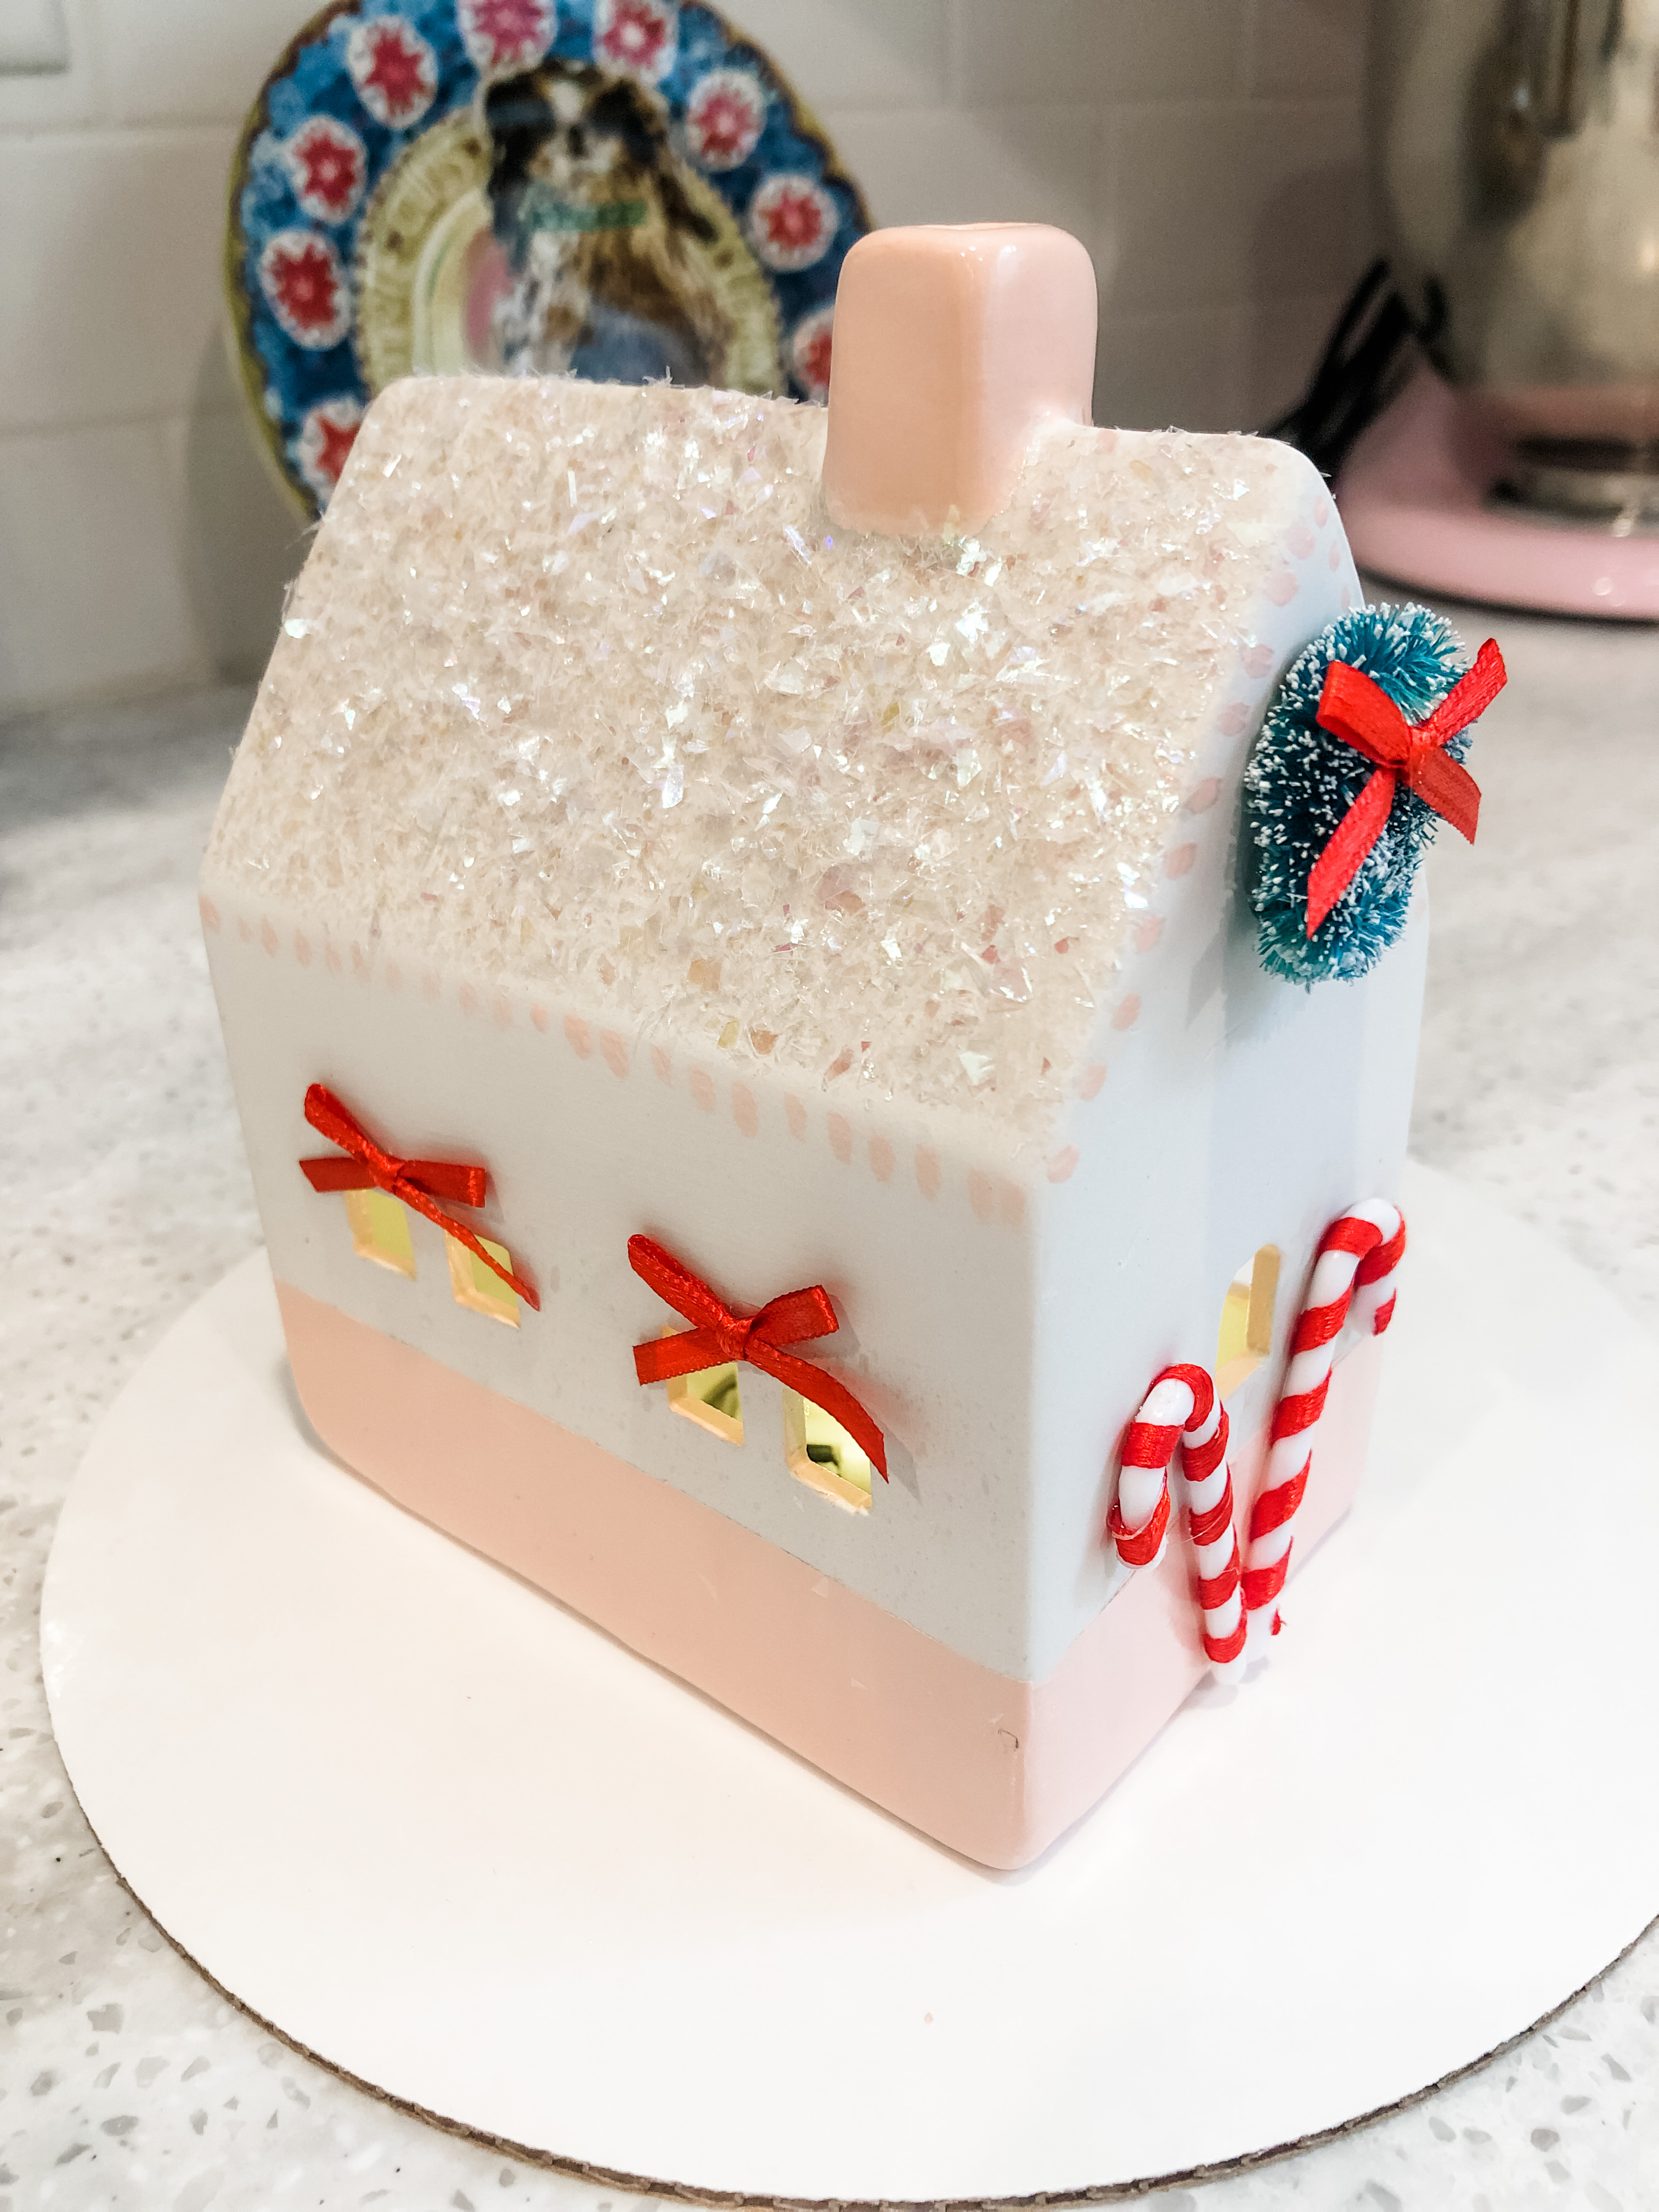
**The only thing left for me to do on mine (above) is to attach it to the cake board and add the fabric filling/stuffing as the snow on the ground. You’ll see it fully completed in some others house below 😉
Once you have your prototype house, you’re ready to get set up for hosting this gathering! I preferred to have “practice” houses as centerpieces so the mamas coming could get inspired by houses already completed.
In addition to the supplies I listed above, here are some other things you’ll need:
- Cups or mason jars to hold the paint brushes
- Cup or gallon size Ziploc bag to place dirty brushes to be cleaned after the party
- Plastic table cloths
- Kraft paper roll (this can double as a table runner! I loved this one from Target)
- Small paper plates to put the paint on
- Box lids for any glitter usage (as the catchall)
- Paper towels on hand just in case. We used baby wipes too!
Something not to be overlooked is the amount of Table Space you’ll need: make sure you have enough work room for each guest, a separate table for supplies set up, and a separate table for snow. This will make your guests feel less overwhelmed with all the supplies all around them. It also keeps the snow which has the potential to get messy, alone in one specific area. We also took some decorations for the houses and sprinkled them on all the work space tables so mamas could just grab as needed!


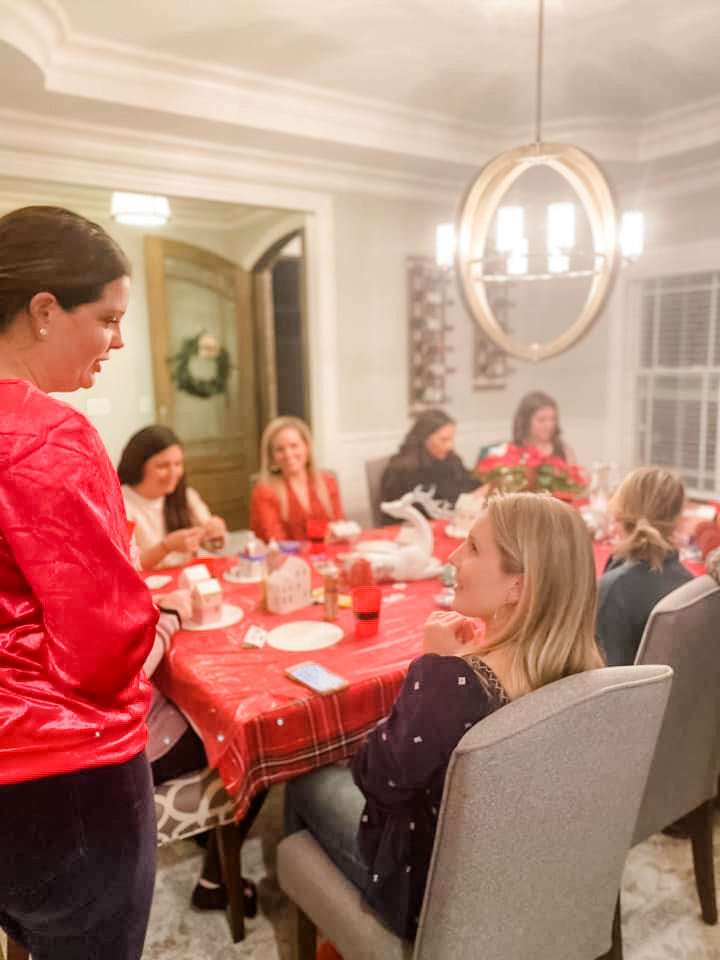
Take a look at how cute these houses turned out! I was so inspired! I overheard friends saying, “Oh, I’m just not crafty…” and then their houses turned out this beautiful! Wow! Each house was just as unique as the mama there that night.
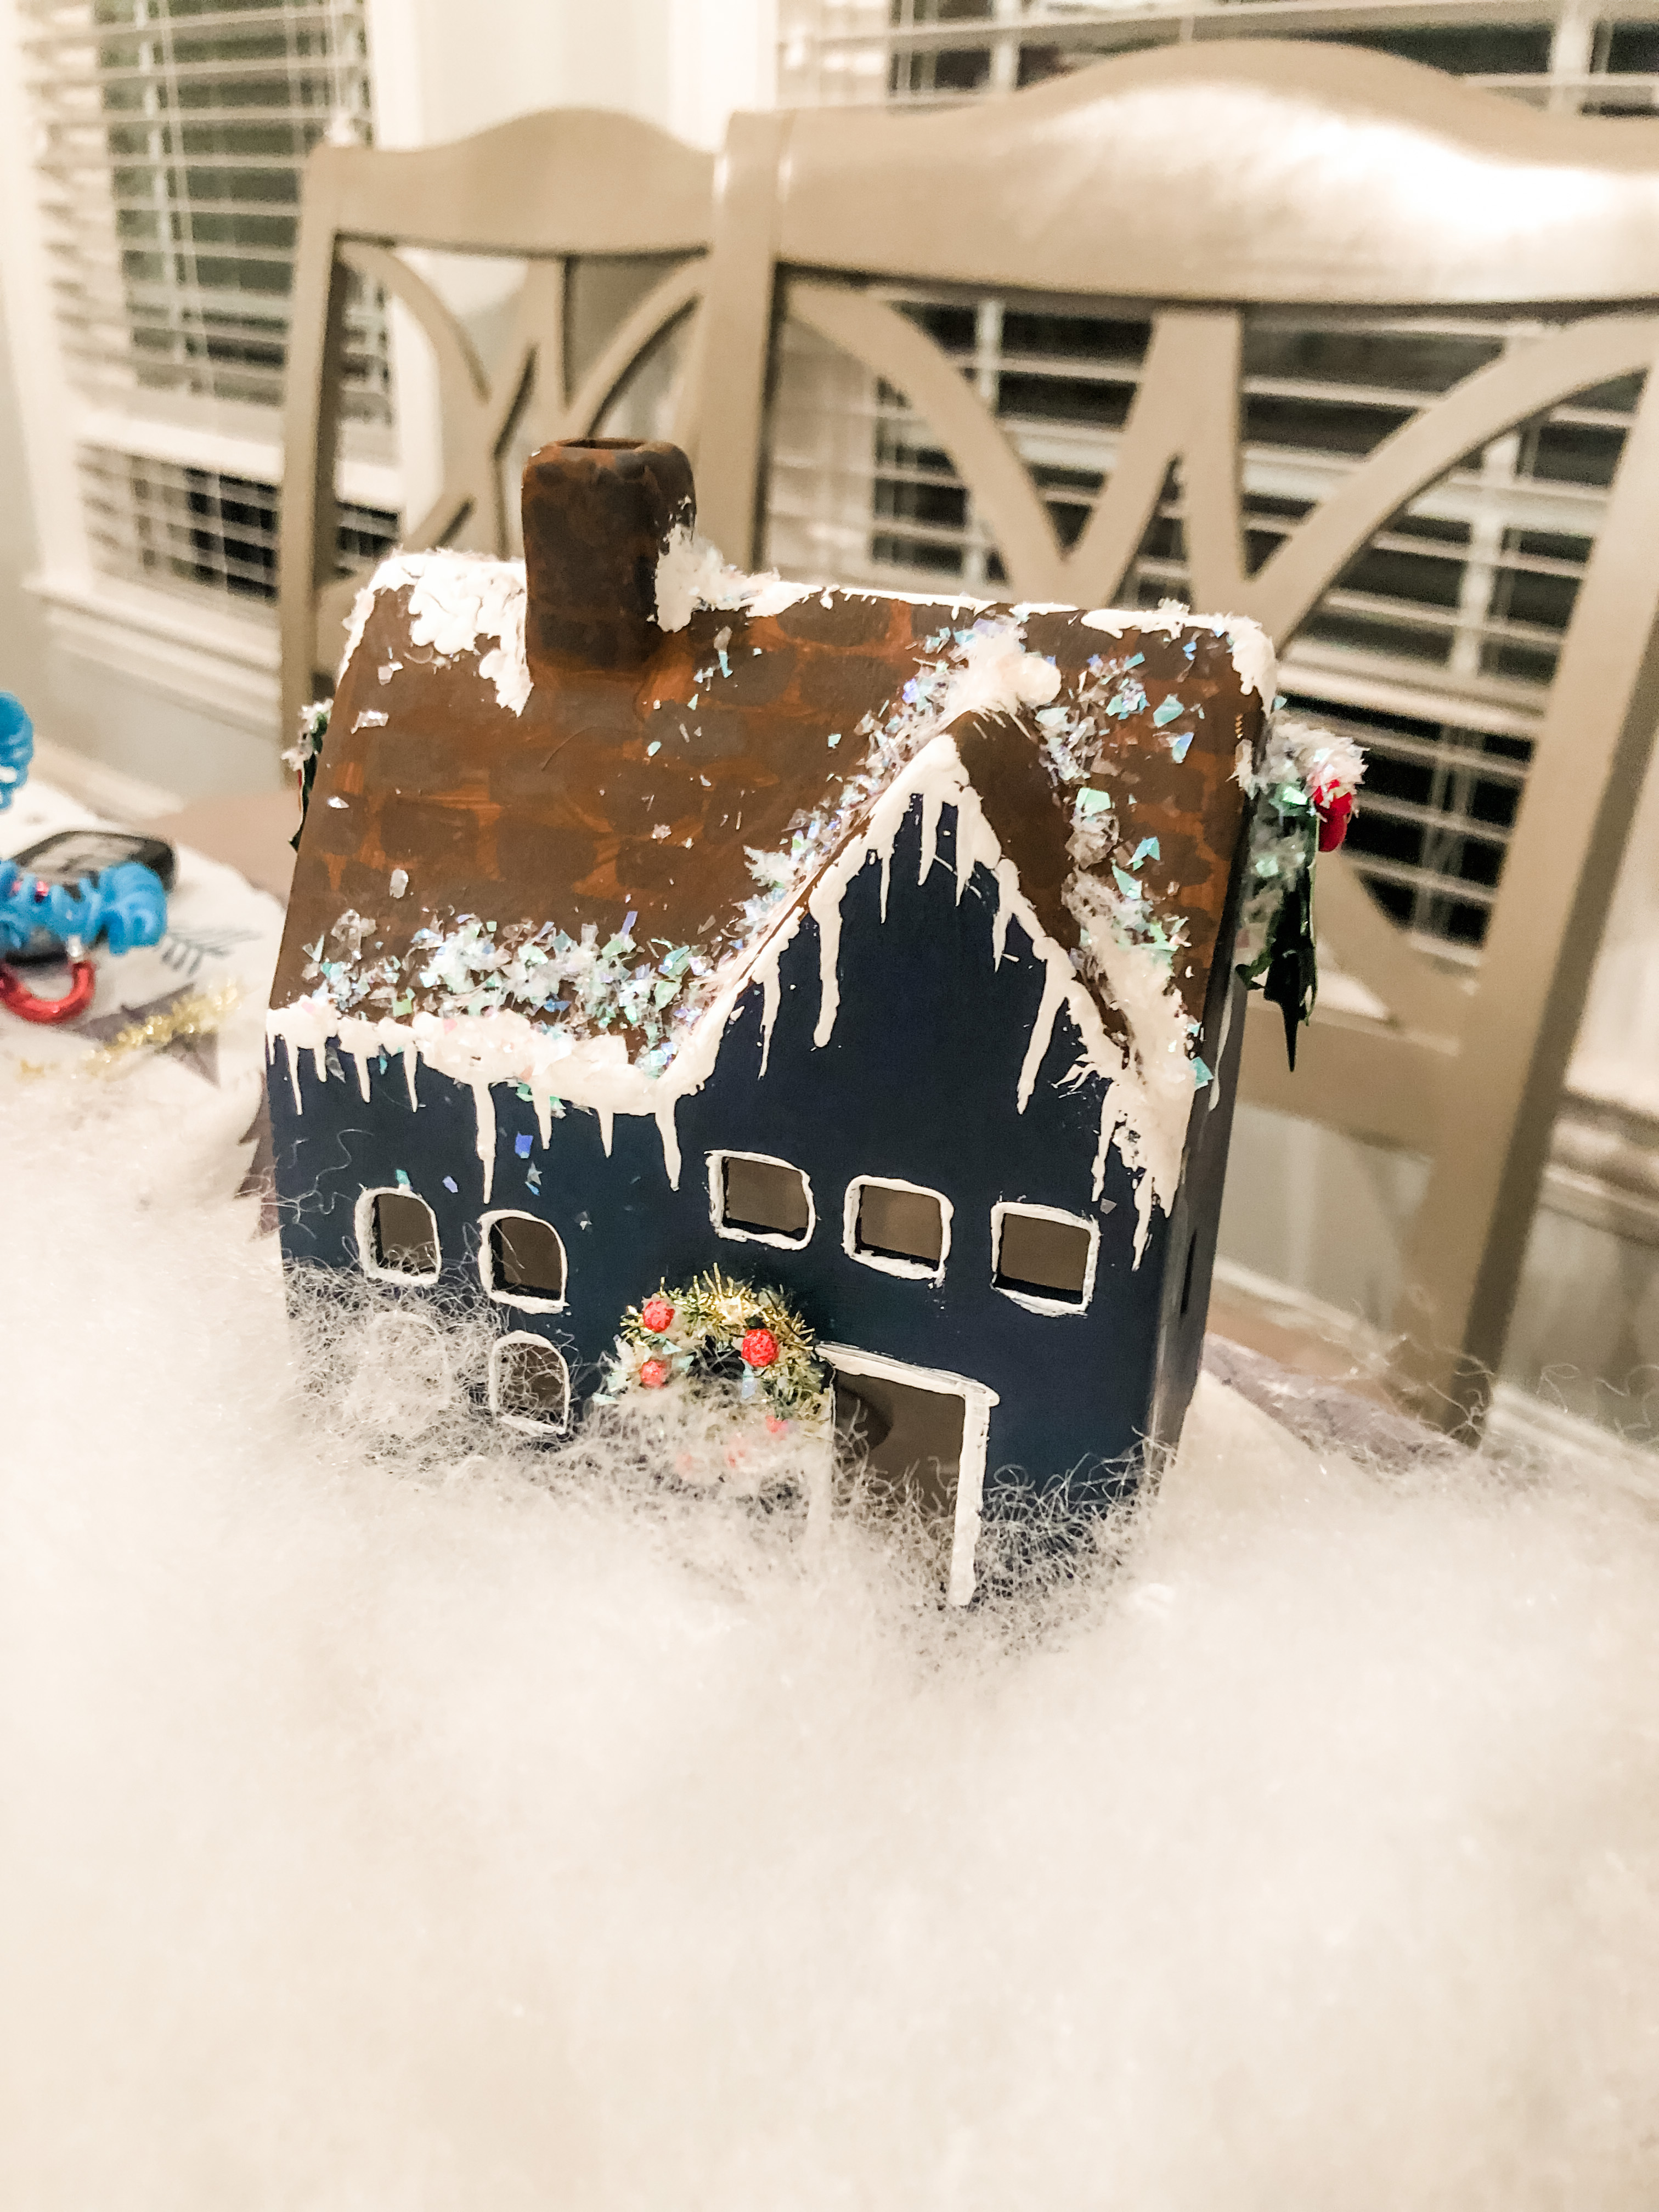


This Moms’ Night Out was such a fun way to celebrate the holiday season with one another AND get to take home something beautiful that you created. My hope is that each Christmas when they unpack their decorations and stumble upon their house from this night, they think about what a sweet season it was in their lives! Happy Holidays, friends!
As an Amazon Associate, I earn from qualifying purchases.


My tiny house made it to the blog! #almostfamus This was sooooo fun … Thank you for all you do for our Village!!!
You’re famous! xxox