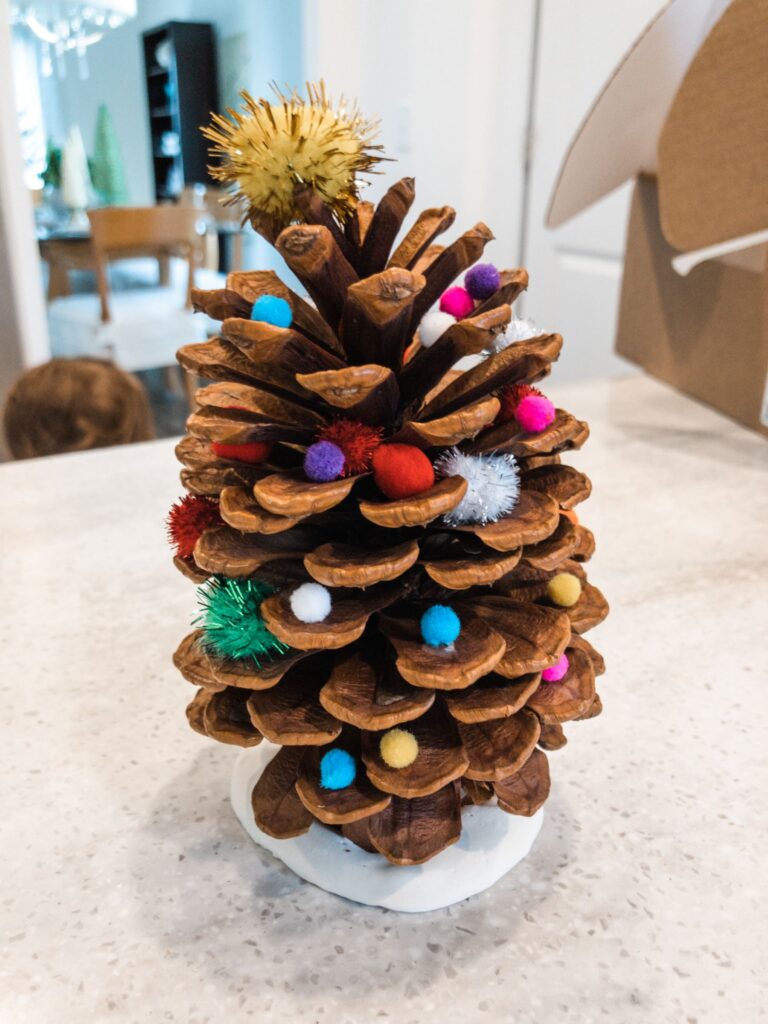
When I first thought of even creating a blog, sharing things I love like this was a driving force! We use to make these pinecone trees when I was little, and I LOVE recreating this tradition with my own little one.
The best part about this project is that it’s not a one-and-done. There are many parts to it, so you can break it up over a few days (likkkeee if you need a few days of entertainment). Before anything else, you’ll have to find a place around you where you can collect pinecones. We traveled to Florida many summers growing up for vacation, and we would stay overnight in Georgia to break up the twenty-hour Dodge caravan ride. My mother would collect pinecones for the following winter from all the pine trees at our little hotel. We thought she was crazy. Nope, she was just planning ahead for her second grade class the following year. I live in the Mid-Atlantic, so it wasn’t very hard for me to find pinecones…they’re everywhere! I took my daughter up to a nearby park and collected pinecones, and then I had a girlfriend collect some for me from her driveway…she was happy to have me help clear her piney mess!
The activity of finding pinecones is an adventure in itself-give your little one freedom to choose whatever ones feel “special” to them, and give them their own bag for what they find. Sure, you’ll have to sort out the yucky ones later, but allow them to have ownership in this activity! You on the other hand, just collect “good” ones in your own bag, so you’re still set up for success *wink*.
Here are your supplies:
- Pinecones of good size and that have open crevices (what would you call it? open sides? Some pinecones are closed, and you won’t be able to decorate them.)
- Plaster of Paris (linked here for you)
- A container to mix the plaster that you can throw away
- Baking sheet
- Parchment paper
- a spoon (I also used a plastic one I could just throw out)
- things to decorate your trees: pom poms, glitter (you, brave soul!), jewels, sequins, paint, beads, etc.
- Elmer’s glue
First, you’ll need to bake your pinecones to get rid of any crawly friends that may be living in there. Place your pinecones on a baking sheet, lined with parchment paper, and bake at 250 degrees for 45 minutes. The parchment paper will collect any sap or goo that may leak out of them (or bugs!) Make sure you stay close by and check on them periodically to avoid any kind of fire concern!
Next, allow them to cool while you make the plaster or “snow” for the bases of the “trees”. Nope, I don’t have grand instructions for you here…just simply follow the instructions on the back of the box of Plaster of Paris. It does get messy, so make sure your countertop is covered. It is hard to clean as it dries quickly which is why I recommend using a plastic tub and spoon to mix that you can just throw away at the end.
Lay out parchment paper, and spoon dollops of plaster, one for each pinecone you have. Take your pinecones and sit them in the plaster. The plaster should hold them upright.
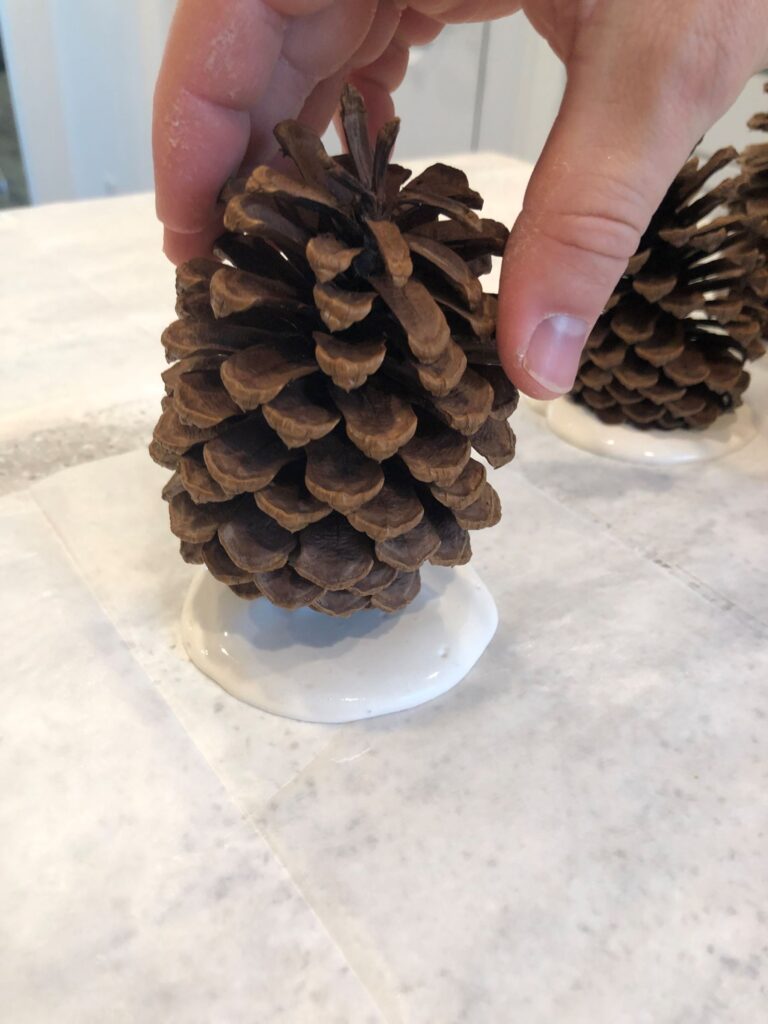
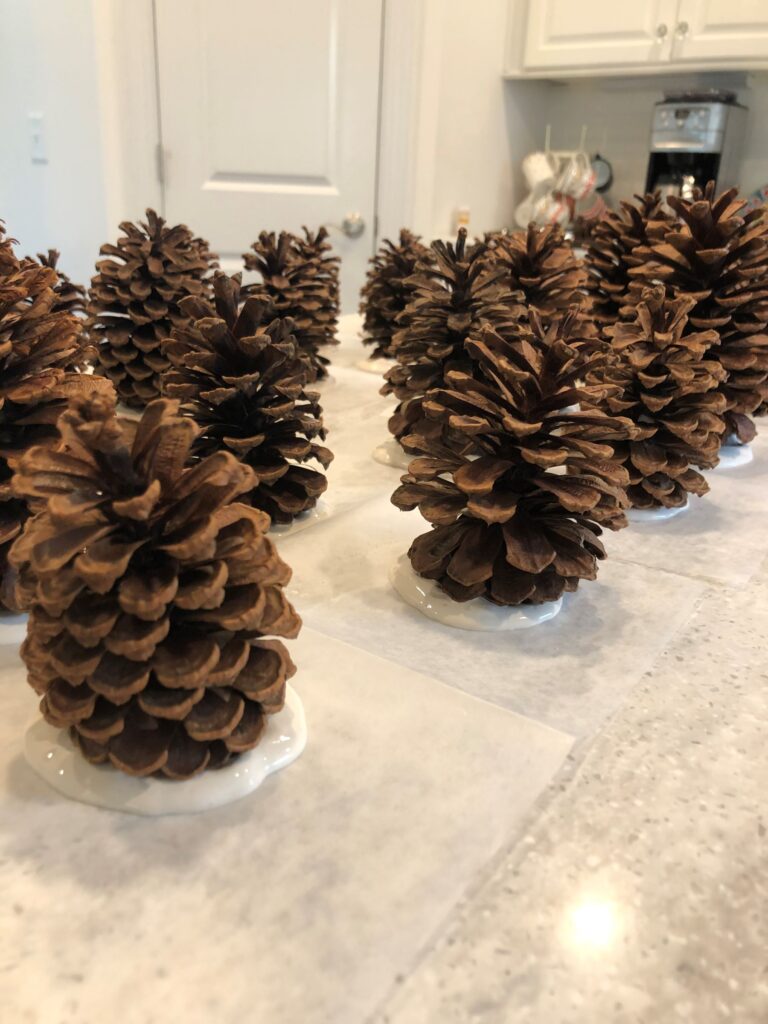
Allow your pinecone trees to completely dry in their snow for three full hours. When your trees are fully dry, you can start to decorate them!
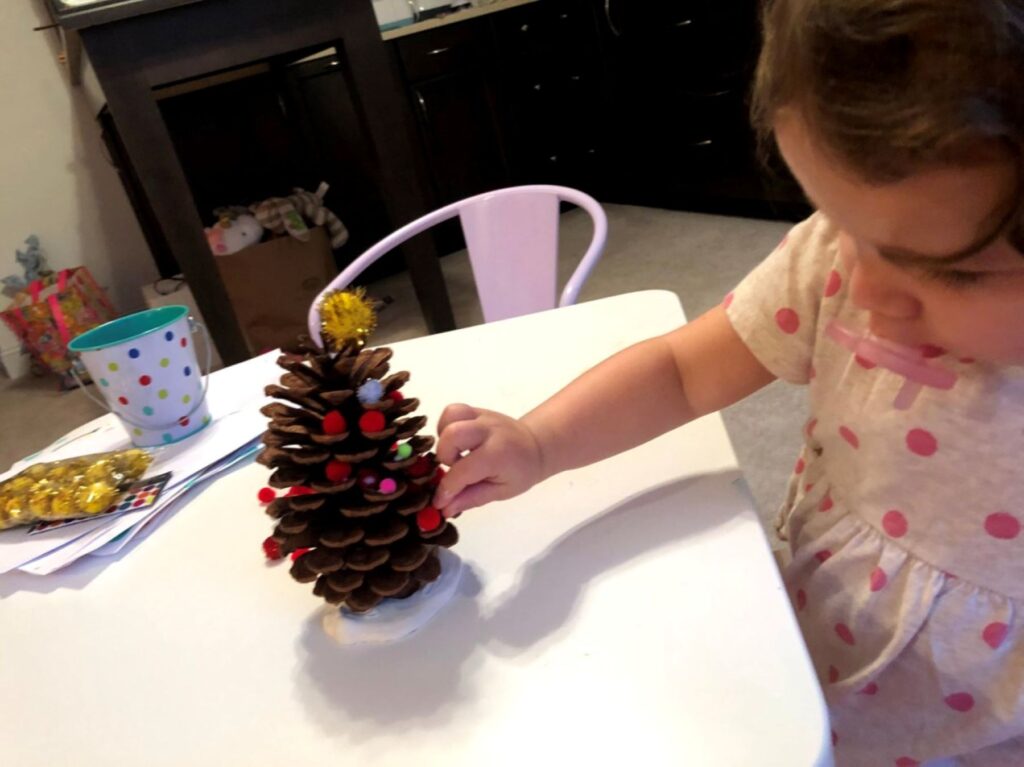
Paint the tips of the branches white to make them look like they have snow on them, add the pom poms, jewels, etc. -whatever you and your little one feel led to do! The best part is that the bottom of the “snow” is flat and smooth, so flip it over and write the year and your child’s name, so you always remember this Christmas and this time together. #gomakesomemagic
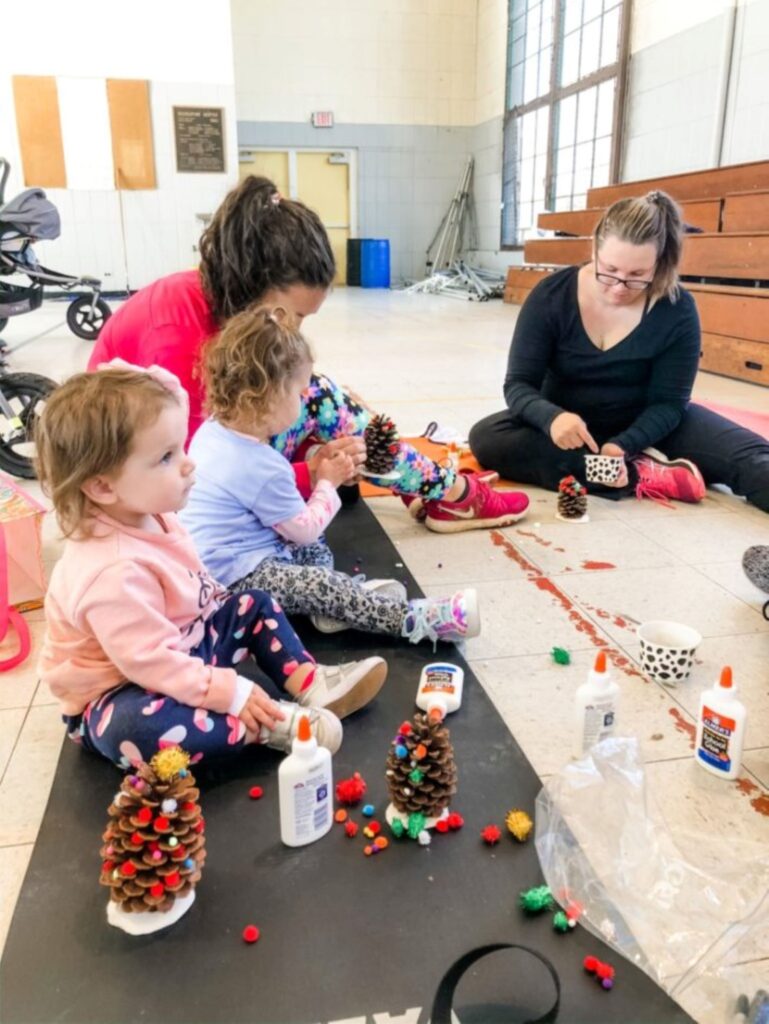
This is a great activity for a large group, class, or individuals! We have trees from years past lining our Christmas village in our home and have given many as Christmas gifts to grandparents. If you decide to make some pinecone trees, I want to see what you create! Tag me on IF @kathryn.sloop
As an Amazon Associate I earn from qualifying purchases.


