Who’s up for a girls’ night that’s simple and easy…and pretty?! This week I had five girl friends come over (on a Tuesday night!) to hang out, eat, and craft. Community and connection are very important to me, and if you know me personally, you know that to be true in all areas of my life. I love to connect. I also love to craft. So this time, I put the kids’ crafts aside, and had some girl friends come over to create with me!
You may be thinking adding something else to your calendar, or hosting friends (especially on a school night) might be too much for you. I can assure you that with a little strategy and letting go of things being perfect (ahem, talking to myself here), a Fall craft night like this is very doable, and very lifegiving. Sometimes we can all overcomplicate “community” and what “being in community” looks like. My goal for this night was to do something fun and just “be” with friends who fill my cup.
I supplied the craft materials and the space, and I had my girl friends each bring something small to share for us to munch on. Nope, no sit down dinner. Snackies hit the spot (although, my one friend brought chicken chili, and it became the main course!) Having each person bring something meant everyone got to take part, and it didn’t all fall on me. If we’re being honest, everyone usually wants to bring something to contribute anyway, so this was freeing for everyone I think. No one showed up empty-handed and no one left empty-handed either!
One other thing that kept the stress down for me was to set a time for my friends to come over. Although we sure would love it, most of us don’t have the time or mental compacity for a long girls night, especially during the week! There’s just always so much to catch up on and chat about, right? I was upfront in my invitation text that I’d love to have them over from 6:00-8:00, because my littles needed to head to bed. Everyone was so respectful of that timeframe, and they also needed to head home too.
So after everyone arrived, we ate and chatted and then got started with our project! Here’s everything you’ll need to make these beautiful pumpkins:
Materials Needed:
- Small white pumpkins
- Painters tape
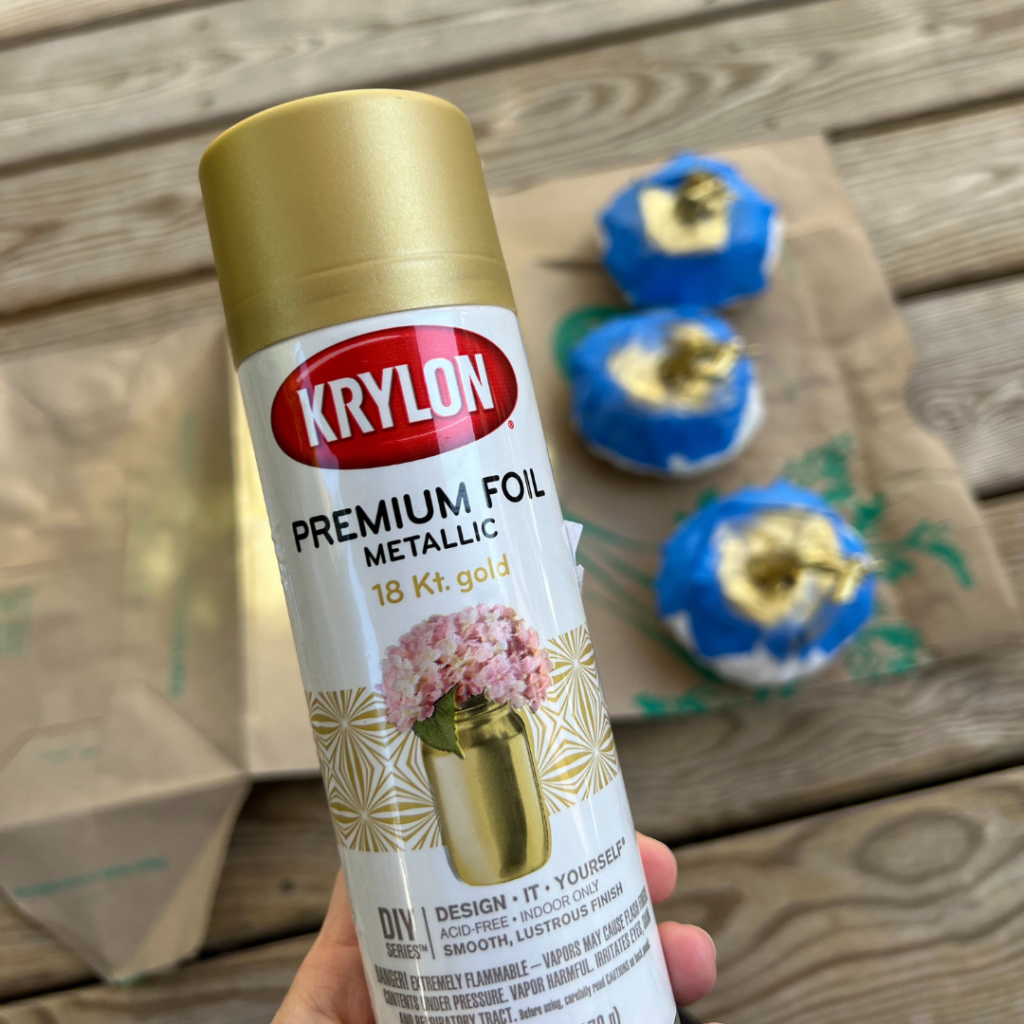
- Gold (or silver) spray paint
- Sponge brushes
- Modge Podge
- Dried flowers (Tip: get more than you think you’ll need)
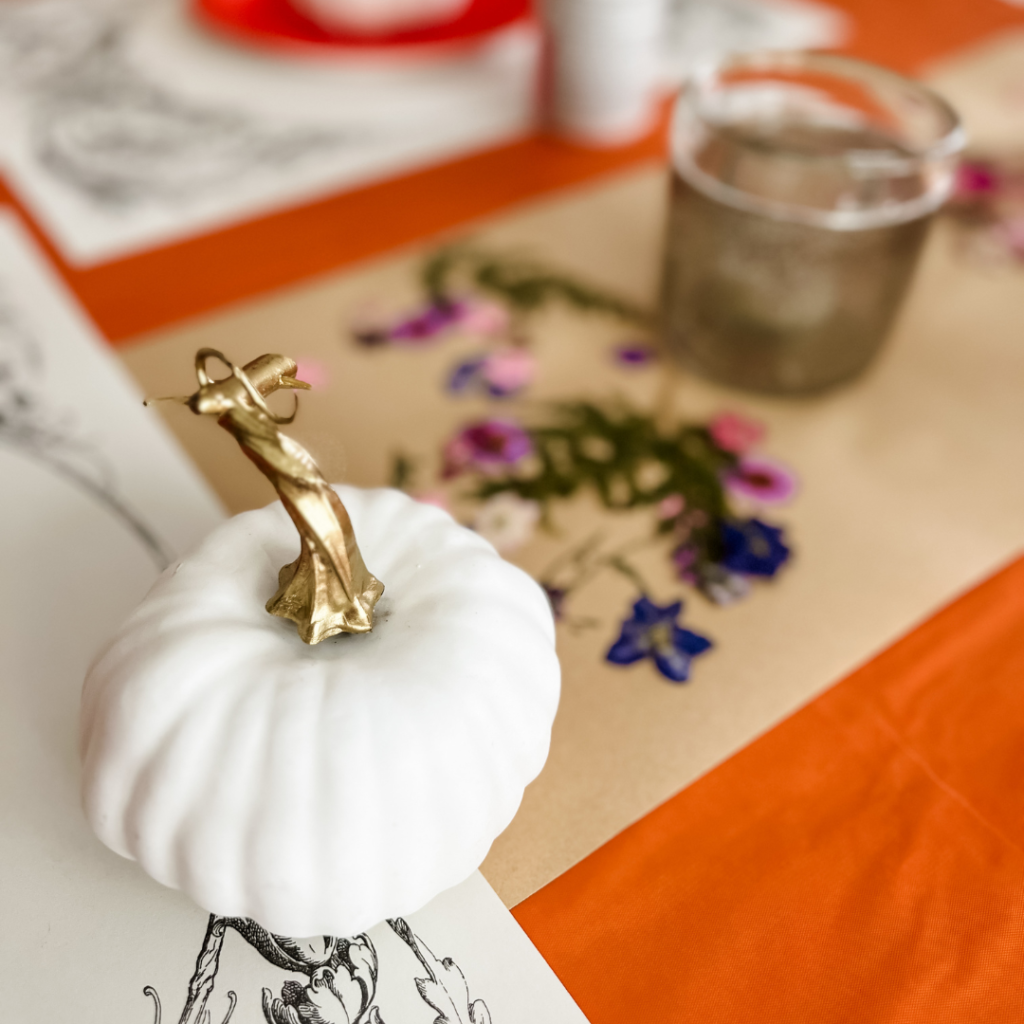
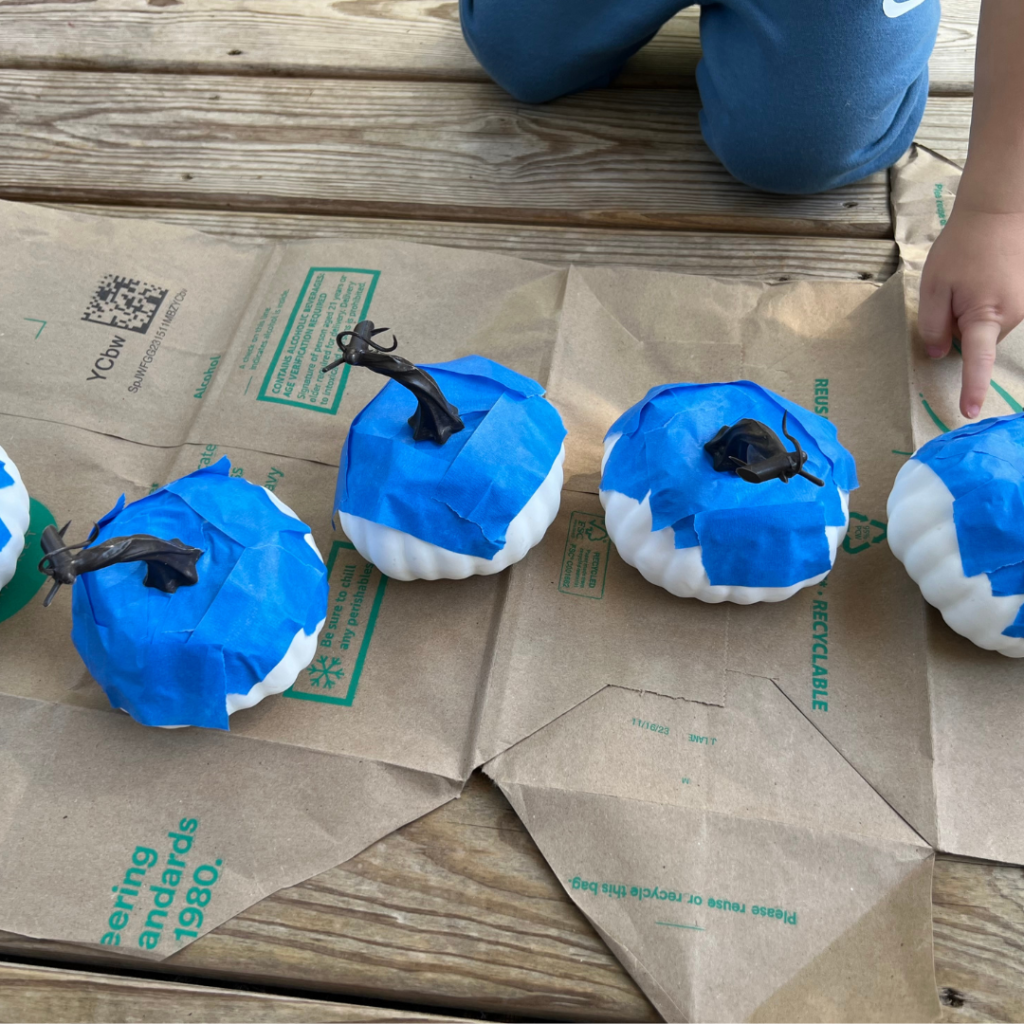
My pumpkins all had chocolate brown plastic stems, and I wasn’t a fan. It is a good thing I always have some gold leaf spray paint on hand, ha! I taped the pumpkin tops to avoid mistakenly spraying the pumpkins, and painted the stems the day before everyone came over. This way they were dry in time, and I could make sure I didn’t miss any spots with the paint. The gold really helped elevate the look of the finished pumpkins!
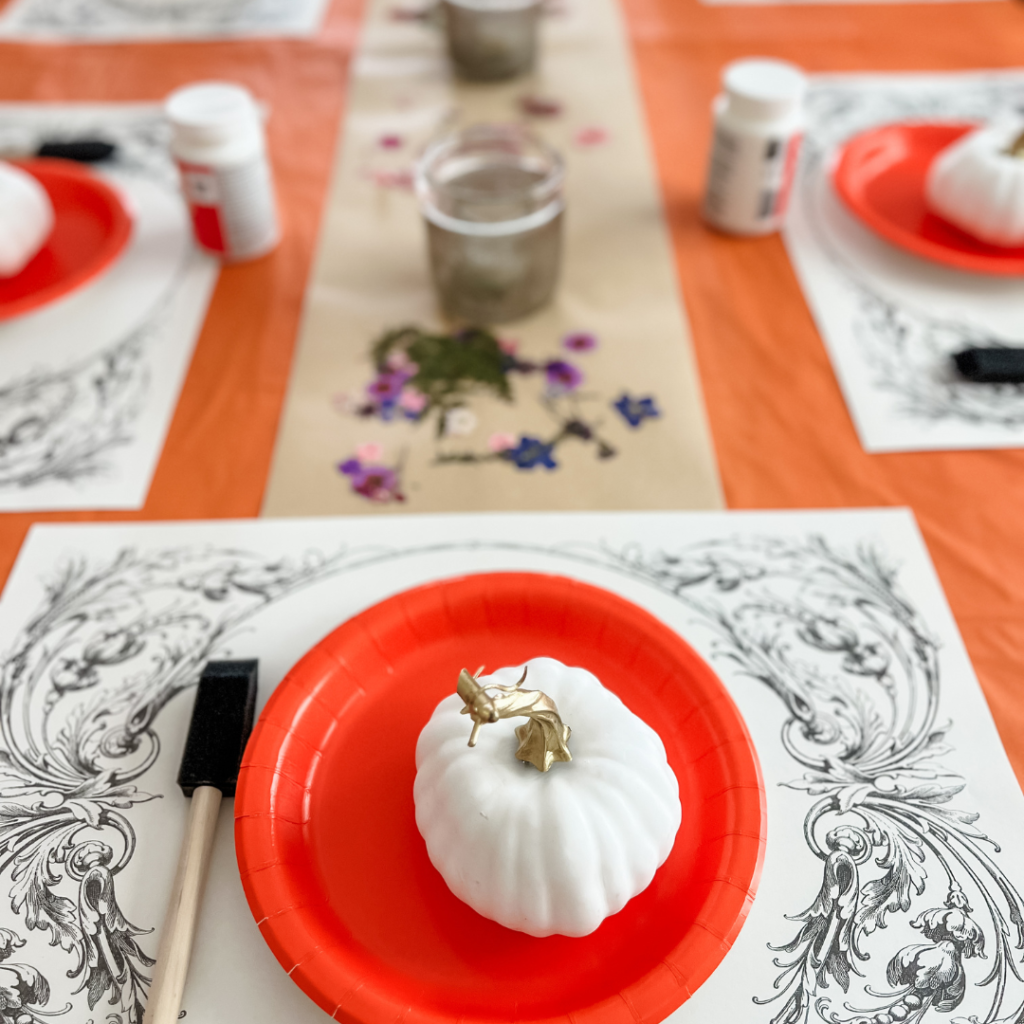
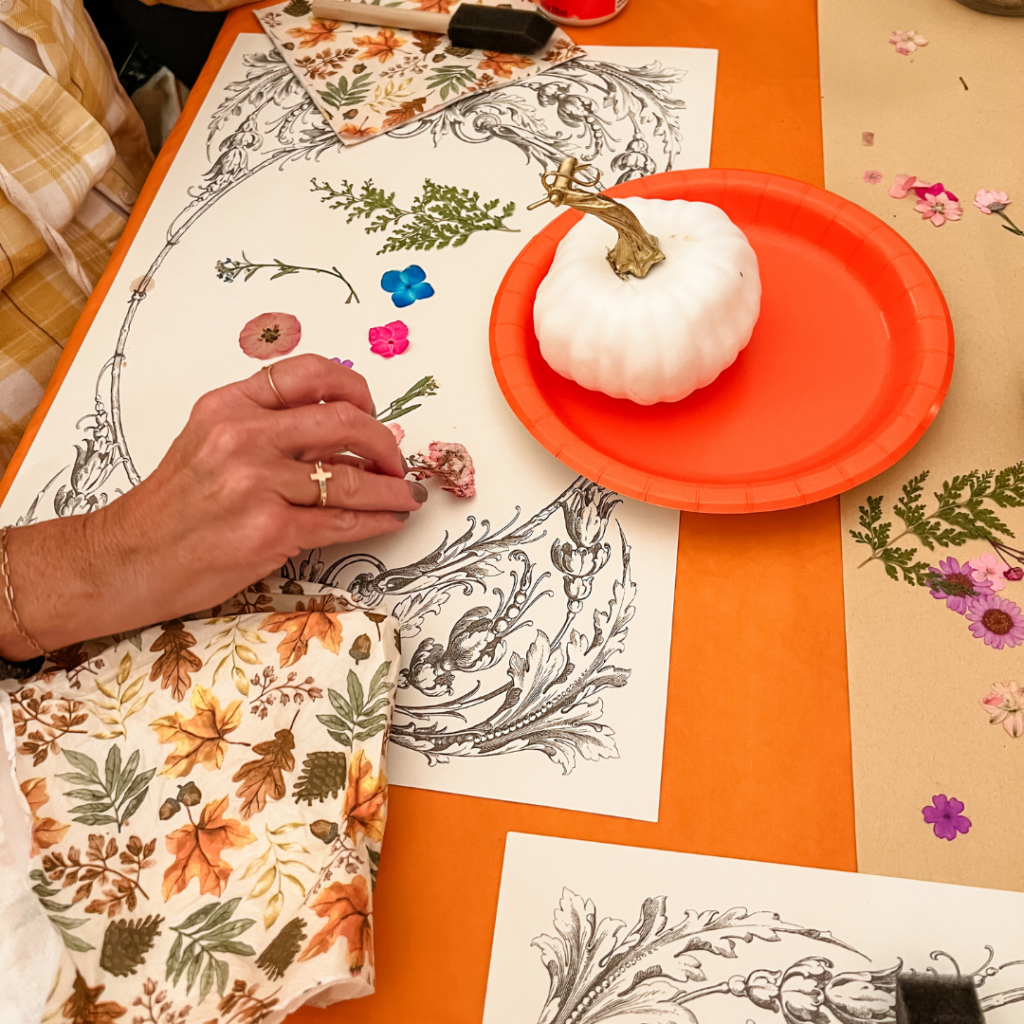
Next, I set my dining room table with a space for everyone that included their pumpkin, a sponge brush, a paper plate as a tray, and modge podge. I sprinkled the dried flowers down the center as a table runner. It made it very easy for everyone to see the assortment available for them to use, and it made the table look so pretty! In order for the table to feel a little more special, I used paper placemats that served as a great workspace for friends to plan out their floral design before gluing.
Another way you could have the dried flowers ready for your guests would be to give each person a sleeve of flowers. Most come packaged in individual sleeves and organized by color. This would require you to spend a little more, so that each person got their own sleeve, but that also means they would have more to use on larger pumpkins and have their own selections to choose from, separate from everyone else.
Decoupaging is very, very easy. All you need to do is use the brush to “paint” the pumpkin with the modge podge, add your flowers, and then paint another layer of the modge podge over the flowers to help seal them. The modge podge acts like a glue and also a gloss. It really helped the pumpkins look finished and expensive when they dried!
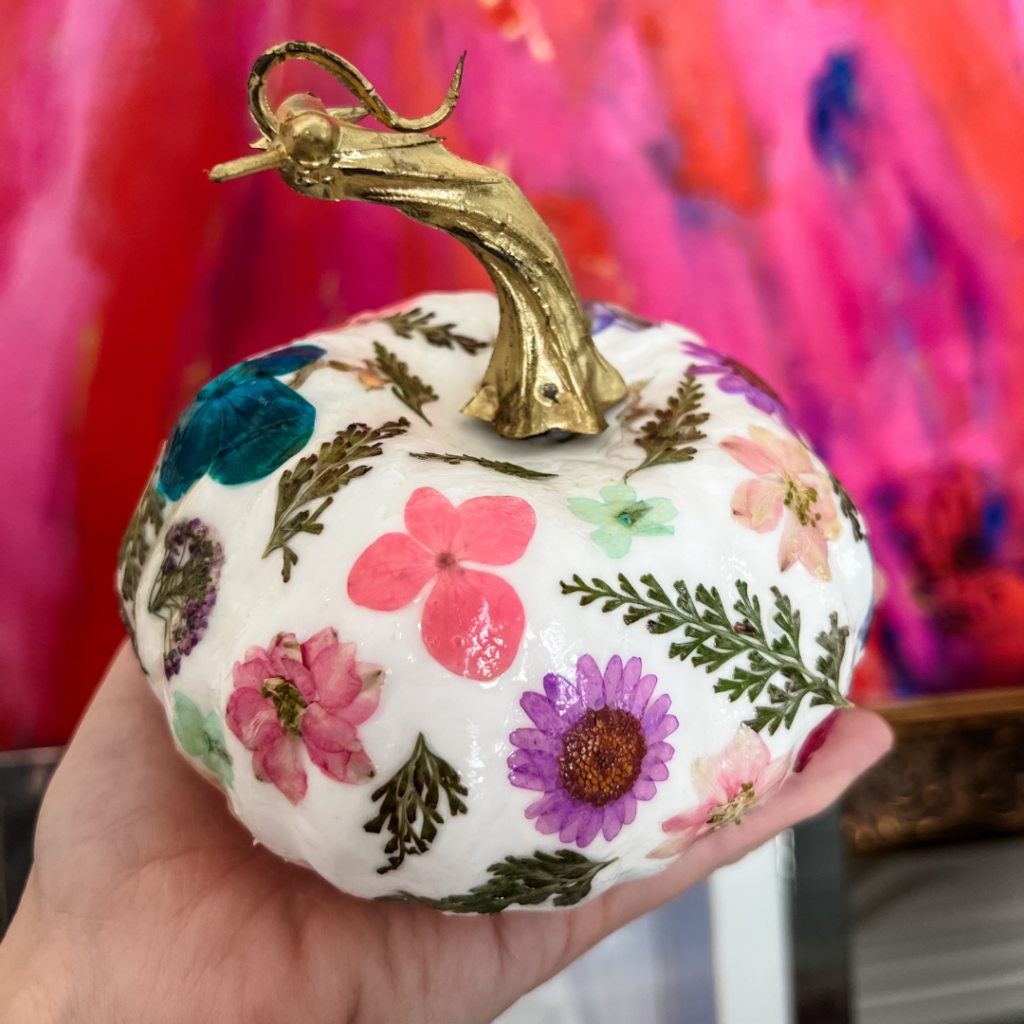
Didn’t they turn out so pretty? Some friends went simple, some went monochromatic, and then I chose all the flowers and colors for mine. I think I want to do a whole collection with the same color scheme though and use them in a bowl in my foyer too!
These would make wonderful hostess gifts as well if you’re feeling crafty on your own. My seven year old daughter joined in too, and made a beautiful one for herself! I hope you’ll make time this Fall to gather some friends and create together! Don’t overcomplicate it- shoot over a text and invite others over!
If you’re looking for others ways to share the Fall and Christmas season with friends, be sure to check out my It takes a Village Moms’ Night Out Craft night and our Annual Happy Birthday, Jesus party posts.
As an Amazon Associate, I earn from qualifying purchases.


