
For our third week of Camp Sloop, I promised my daughter we could do a science experiment! I roped the experiment and our treat this week into one, so I knew that would be part of the last hour we were together.
For when the kids arrived, I had supplies laid out for them to make their own personalized necklaces. I pre-grouped the letters necessary for each child’s name in solo cups (this also allowed me to make sure I had enough of each letter bead for everyone’s names! You’d be surprised how many Es are in this group of kids’ names, HA!). These prepped cups of letter beads also already gave each child a spot at the table. At this point in camp, each child has already chosen their “spot” around the table on our deck, so I knew where they would go.
I added other wooden beads and pony beads to the table as well, and let the girls have at it!
The sandbox from week 2 of Camp was still a crowd pleaser for the Littlest ones, and I brought out these bubble guns and our bubble machine, so they could have free reign with them while the big kids made their necklaces.
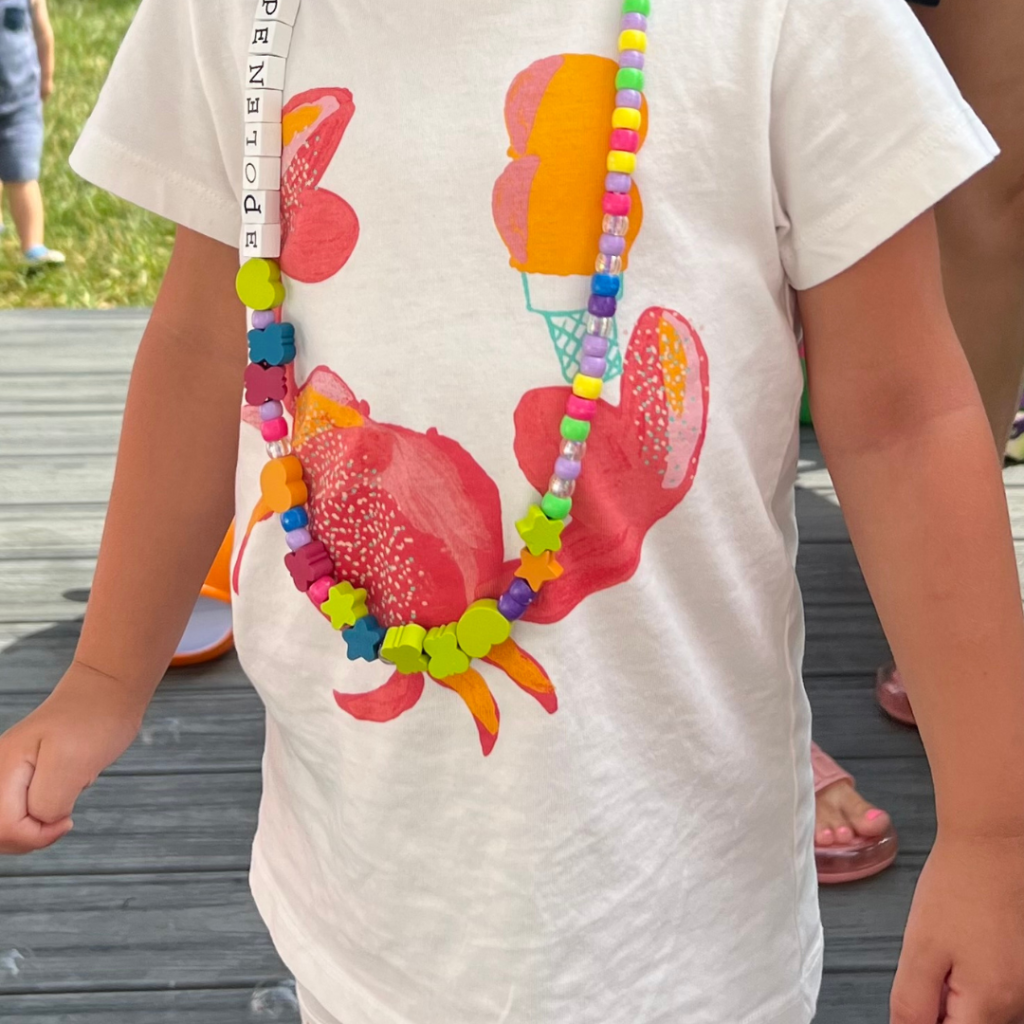
After the kids made their necklaces and had free play, I gathered them together for our experiment! I had all the ingredients for it ready to go, so I just had to carry it outside.
Oh the sound of the squeals when they learned what they were going to make:
Their own ice cream IN A BAG!!
For this recipe/experiment/activity, you simply need:
- ice
- gallon and quart sized Ziploc bags
- whipping/heavy cream
- sugar
- salt
- vanilla extract
- sprinkles
- spoons
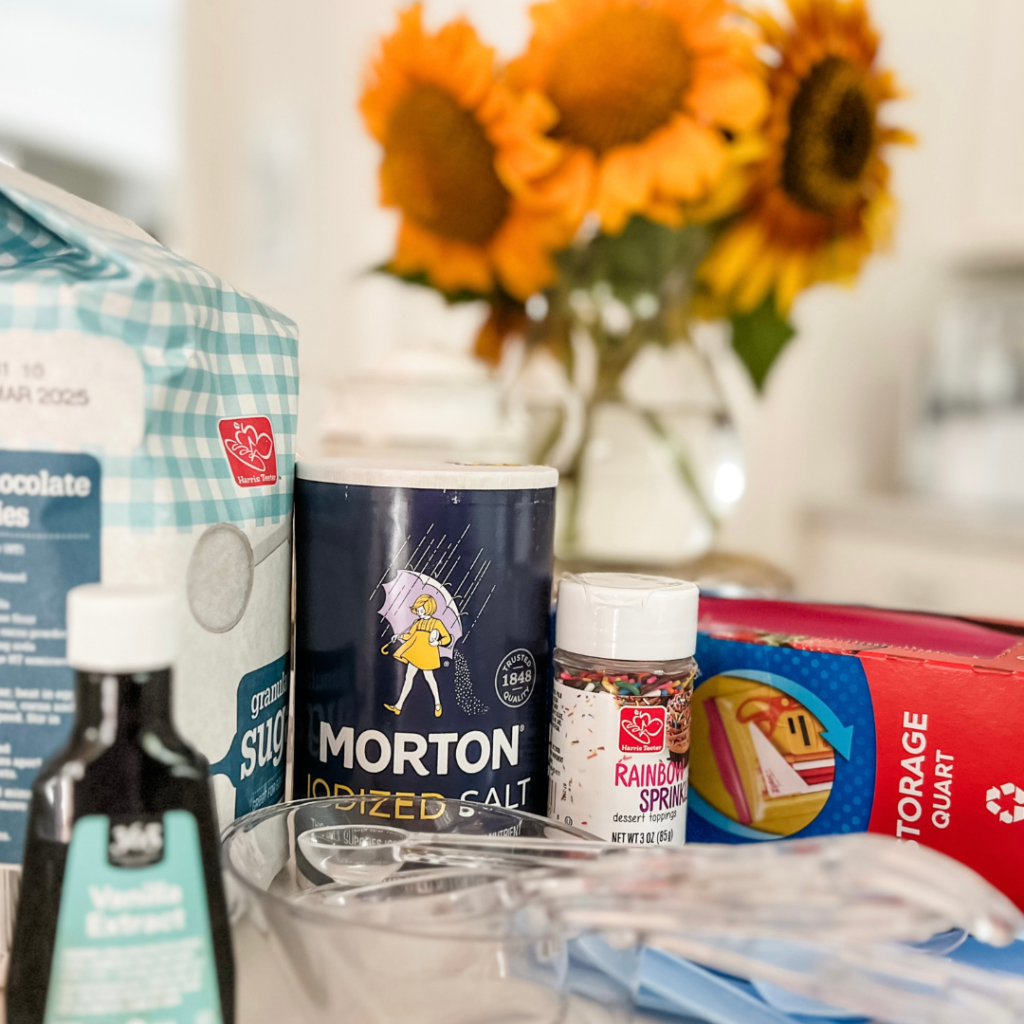
One by one, I had the kids add their ingredients to their quart-sized baggies which served as their mixing bowls.
I had the gallon sized bags filled with ice before hand in my freezer to make sure they didn’t melt ahead of time. It was already 84 degrees at 10:30 when we were doing this…phew!
You can find the entire recipe and instructions I used here.
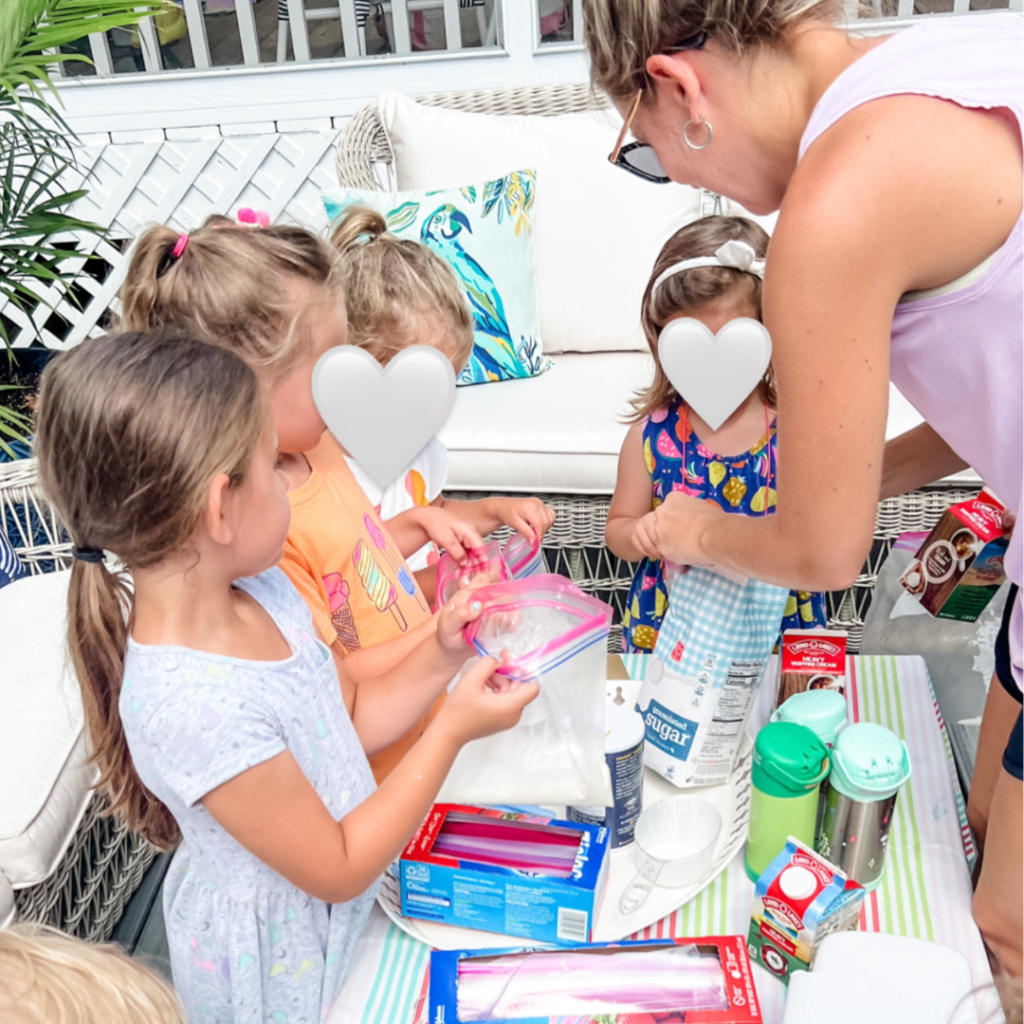
After all the ingredients were mixed in the quart-sized baggies, we placed those bags in the gallon-sized baggies filled with ice and salt. The salt decreased the temperature of the ice which made the liquid in the quart-sized bag (our ice cream) freeze when we shook the bags. Isn’t science fun? This is also a great three states of matter lesson too! We had to do a LOT of shaking…ten minutes worth. The kids definitely gave out early on us, so us mamas had to take over. The more shaking there was, the more solid the ice cream became…and the more we hoped our arms were toning up, too *wink*.
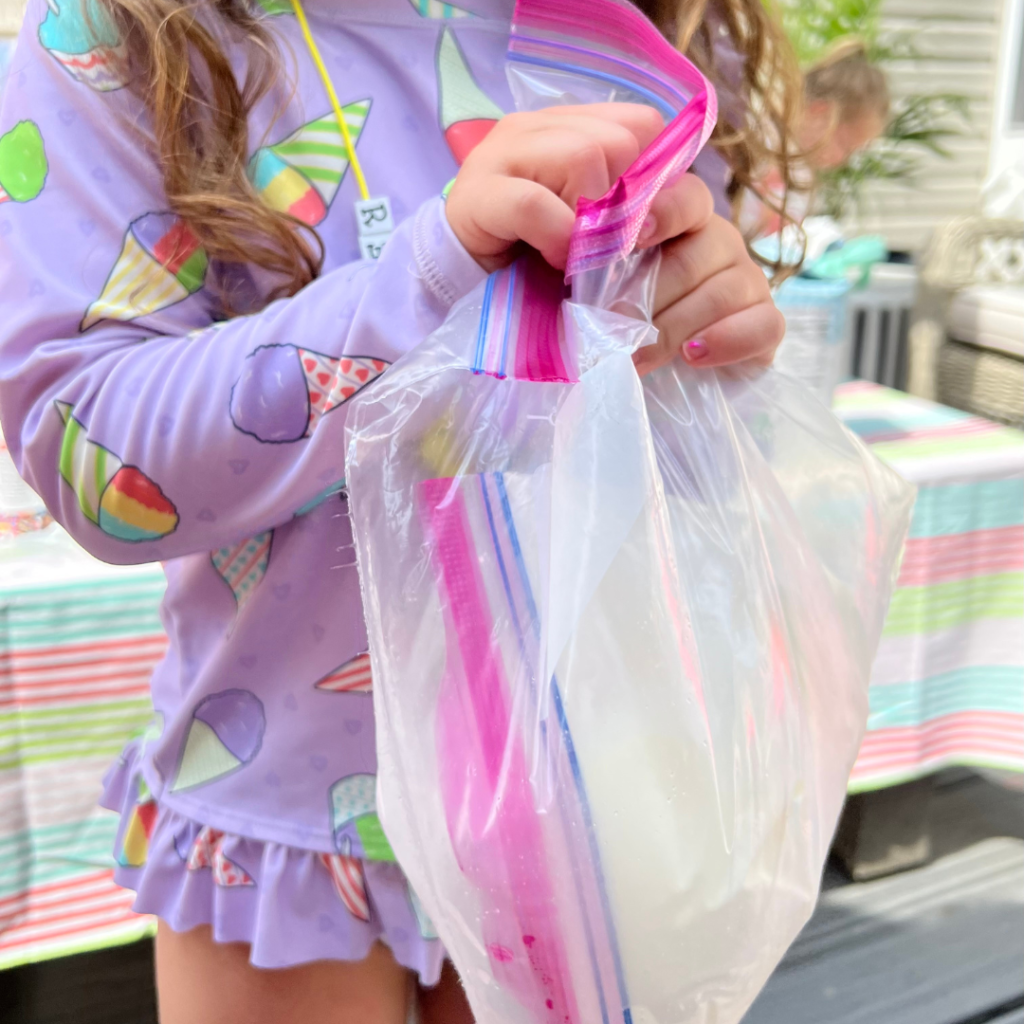
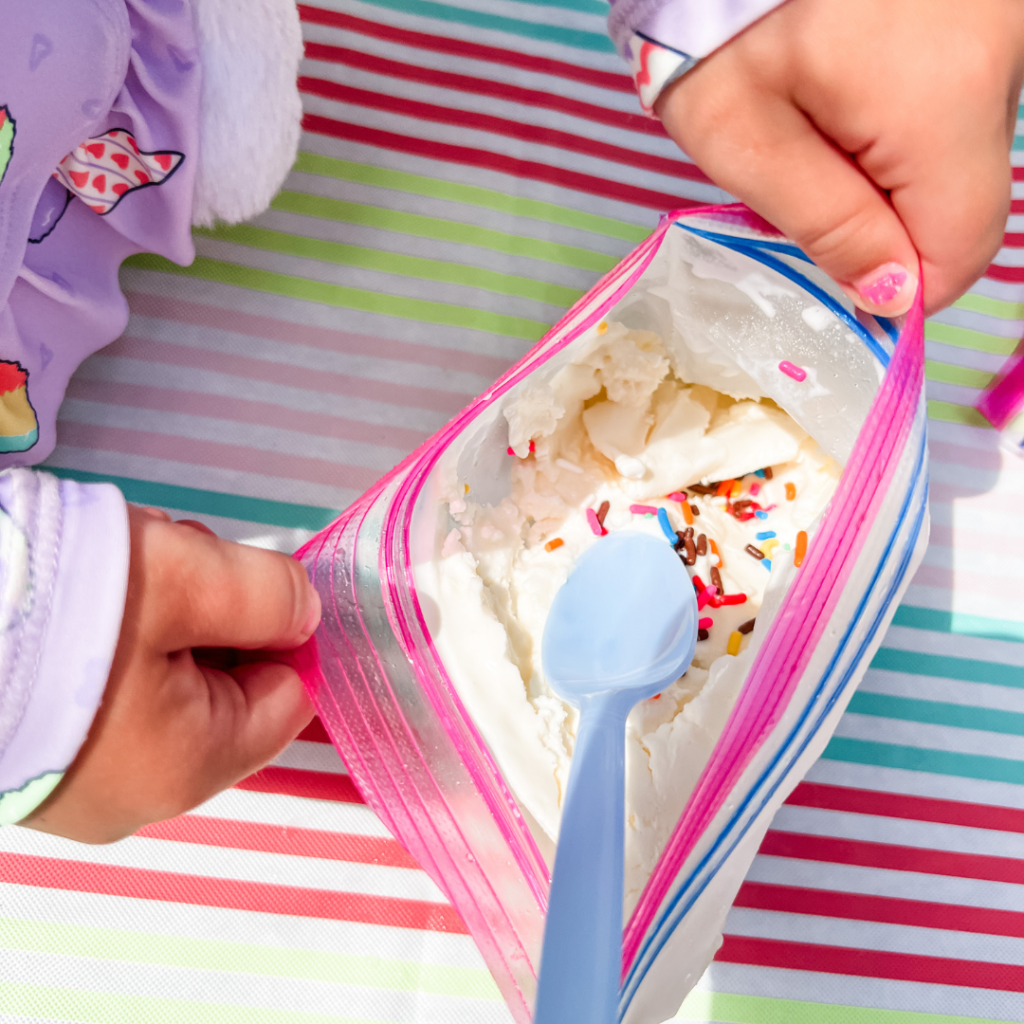
When us mamas felt we had gotten our arm work out in enough, we opened the bags, added sprinkles, and let the kids dive in! It was so hot in the sun, and the ice cream was melting quickly, but it was still delicious! I told them it was more like soft-serve ice cream…
The good thing is that you can place your ice cream bags in the freezer, and they’ll be good for six months. We saved what was left of ours and enjoyed it later that evening.
We have just one more week of Camp Sloop left to go before we wrap up for the summer. Sigh. Stay tuned!
If you missed week one, you can read about it here.
And if you missed week two, you can read about it here.
As an Amazon Associate, I earn from qualifying purchases.


 Sharing what I create with my kids + celebrating the little things in life
  Homeschool Mama

 Does the perfect Christmas craft for a large gr
 Here’s your cue to set up a candy cane hu
[…] Click here to read my Week Three Recap! […]